
!["[New] How to Voice-Activate Your Discord Conversations"](https://www.lifewire.com/thmb/JY3L91vvZ0g1GXL_LTaLztJt5pY=/540x405/filters:no_upscale():max_bytes(150000):strip_icc()/GettyImages-172697480-58d0c4bb3df78c3c4f2df865.jpg)
"[New] How to Voice-Activate Your Discord Conversations"
How to Voice-Activate Your Discord Conversations
How to Use Discord Text-To-Speech?

Richard Bennett
Mar 27, 2024• Proven solutions
While most users of the popular online messaging and content sharing site Discord rely on simple text to communicate, there are numerous situations when using the text-to-speech feature would be quite advantageous. This includes instances when there are language barriers or disabilities to overcome, but also spontaneous moments when users just enjoy hearing each other’s words. Discord supports the use of a text-to-speech (TTS) function and in fact, has a built-in setting for it, but this option only works for desktop users with Windows or Mac devices.
In this article, we will discuss the specifics of activating the TTS function in Discord and using it effectively to improve your communication with other users. By following the detailed instructions provided here, you will be able to learn how to activate text-to-speech on Discord and manage your voice messages on selected servers in the most practical manner.
- Part 1: Enable Text-To-Speech Feature in Discord
- Part 2: How to Set Up Text-To-Speech Notifications on Discord?
- Part 3: How to Use Text-To-Speech in Discord Chatting?
- Part 4: How to Mute All Text-To-Speech Messages on Discord?
- Part 5: Best Text-To-Speech Bots on Discord
Part 1: How to Enable Text-To-Speech Feature in Discord?
Before you can deploy TTS in your chats, you need to change the settings of your profile to enable this option. This isn’t hard to do – just go to the Discord app and select ‘Settings’ from the menu, which will trigger a pop-up window to appear on your screen. Next, you need to find the Text & Images section in the App Settings window, then scroll down to find the Text-to-Speech option, and finally tick the boxes next to Allow playback and Usage of TTS items. After you do this, your Discord will be ready to process your text messages in voice format.
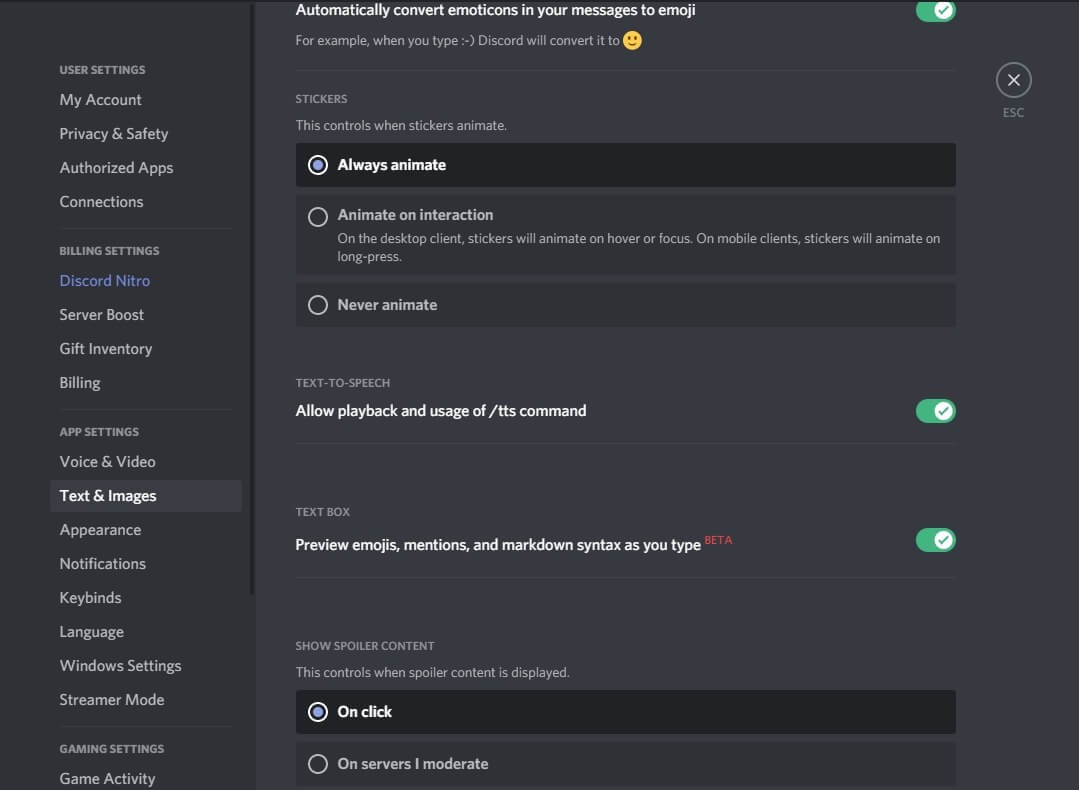
To test whether you successfully activated Text-to-Speech, open any chats on your personal server and try typing out a message, followed immediately by the tag /tts. If everything is working correctly, your message should appear on the screen in the text form, accompanied by its voice rendering delivered by an automated module. The timing of the two should be perfectly synchronized so that you hear the message and see the text at exactly the same instance. Otherwise, go back to settings and make sure you activated the TTS option properly or restart your Discord app.
Part 2: How to Set Up Text-To-Speech Notifications on Discord?
Another practical possibility that can improve your Discord experience is to set up TTS notifications and be immediately informed whenever a fresh message arrives. This can also be done after you change the app parameters from the ‘Settings’ menu. After you see all options, choose ‘App Settings’ and search for the section named ‘Notifications’. By scrolling down, you will reach the item ‘Text-to-Speech notifications’ and after clicking on it you will be given a choice between three options.
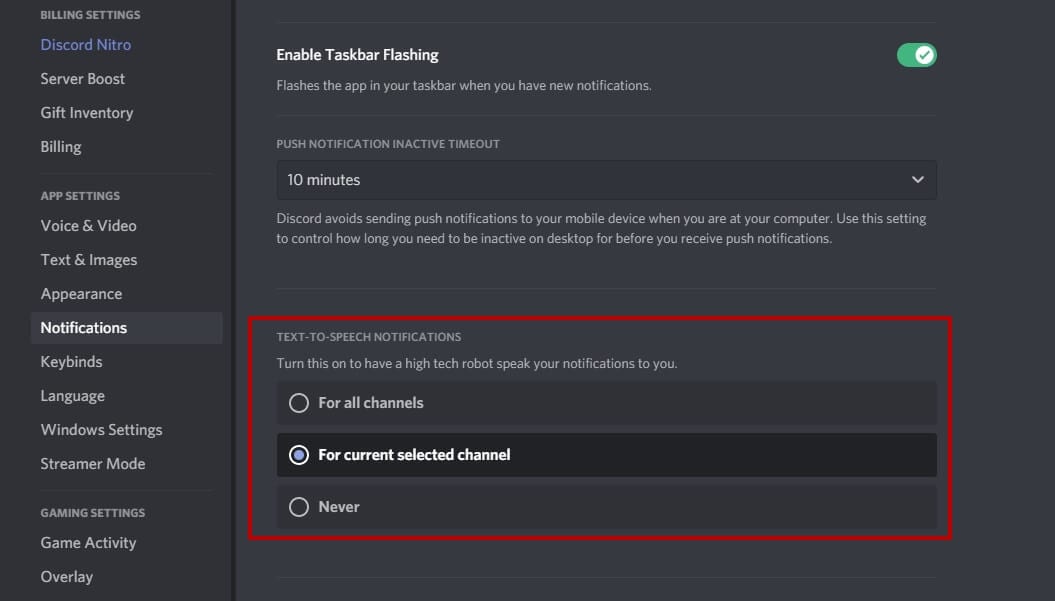
The first option For all channels is to enable notifications on all channels on Discord; choosing it will result in a robotic voice reading all messages from all chats, regardless of whether they have a /tts tag. This option can be useful when you want to maximize your accessibility and receive important information instantly.
By picking the second option, For current selected channel, you can enable TTS notifications only on the current channel. This action will instruct Discord to have an automated voice read all the incoming messages on the active chat aloud, allowing you to stay in the loop at all times. This possibility works well for people who occasionally do multiple things at once, for example, gamers or streamers who use Discord to stay connected with their fans and friends while they are busy.
Finally, you can choose Never to hear any voice messages from your Discord chats never. If you pick this setting, even those messages that were sent with the /tts tag will only be displayed in the text format. This option provides you with peace of mind and prevents spammers from saturating you with voice messages you have no interest in hearing.
Part 3: How to Use Text-To-Speech in Discord Chatting?
It’s not very hard to learn how to effectively use the TTS option in your chats on the Discord platform. This communication format is available on all channels that have an activated Text-to-Speech setting, so you can freely add a few messages to be read aloud or completely switch to automated voice format if you so desire. Doing this in practice is very simple – just start your message by typing the tag /tts and then enter your text as you normally would.

Your TTS message will be reproduced in a voice format by a Discord bot to all participants in the chat who didn’t mute incoming Text-to-Speech chats. An automated voice will say the entire message, and then also pronounce your username to identify the author. At the same time, the message will appear in the chat feed as plain text, so that even those recipients unable to hear it will be able to see the contents.
Part 4: How to Mute All Text-To-Speech Messages on Discord?
You can also decide to prevent any messages from being played to you in a voice format and receive them as text only. This option is available even if you are not the administrator of the chat server and simply want to customize your own experience. To do this, you need to open the Discord app and enter the Settings menu, before selecting the Text & Images section from App Settings. After this, you need to find the Text-to-Speech sub-menu and open it to find the Allow Playback feature. If you disable this feature, you will effectively mute all incoming TTS messages across all Discord servers you are active on.
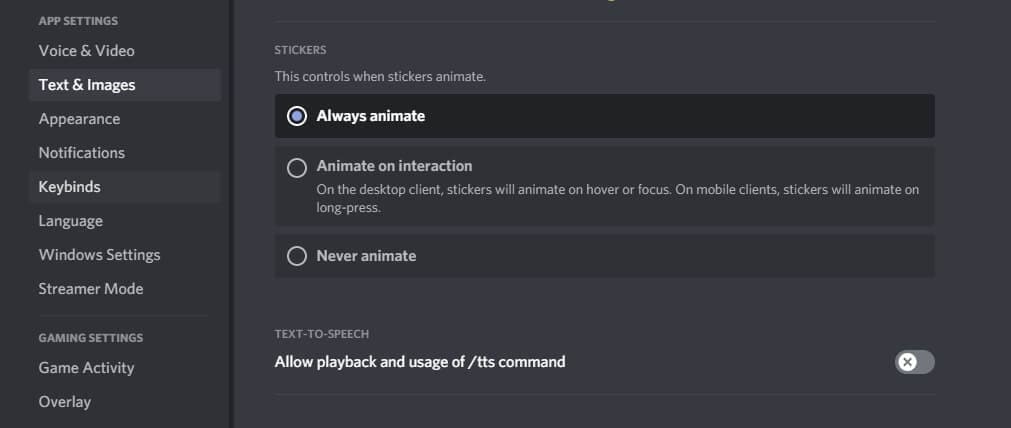
Please keep in mind that deactivating the aforementioned feature won’t block TTS messages from reaching you, but you will see them as text only. On the other hand, you can’t use the /tts tag to send your own Text-to-Speech while the playback setting is disabled. Nothing is preventing you from turning it back on when you want to have a TTS capacity on Discord again.
Part 5: Best Text-To-Speech Bots on Discord
One of the reasons why Discord is so popular is that it allows extensive customization through user-made Bots or modules that automatically perform a certain task. There are several great Bots that can be used for Text-to-Speech, so you might consider utilizing one of them.
1. Text to Speech (TTS)
With many languages supported and a wide range of cool commands, this bot could be the best choice for people who use TTS just for fun.
2. KD Bot
A very popular option for Text-to-Speech on Discord that lets you choose from more than 100 voices and supports upwards of 100 languages, making it a powerful translation tool.
3. Fergun
This multi-language tool responds to more than 100 different commands, so it can be used for a wide variety of purposes with stunning effectiveness.
Frequently asked questions about TTS on Discord
- Can I use the Text-to-Speech feature on Discord from a mobile phone?
Unfortunately, you can’t. Discord works quite well as a text messaging app on mobile platforms, but at this time Text-to-Speech functionality is limited to desktop users.
- Why can’t I use Text-to-Speech on a Discord server?
If you are unable to send or receive TTS messages on Discord, you need to change your settings. Please see Part 1 of this article for detailed instructions.
Richard Bennett
Richard Bennett is a writer and a lover of all things video.
Follow @Richard Bennett
Richard Bennett
Mar 27, 2024• Proven solutions
While most users of the popular online messaging and content sharing site Discord rely on simple text to communicate, there are numerous situations when using the text-to-speech feature would be quite advantageous. This includes instances when there are language barriers or disabilities to overcome, but also spontaneous moments when users just enjoy hearing each other’s words. Discord supports the use of a text-to-speech (TTS) function and in fact, has a built-in setting for it, but this option only works for desktop users with Windows or Mac devices.
In this article, we will discuss the specifics of activating the TTS function in Discord and using it effectively to improve your communication with other users. By following the detailed instructions provided here, you will be able to learn how to activate text-to-speech on Discord and manage your voice messages on selected servers in the most practical manner.
- Part 1: Enable Text-To-Speech Feature in Discord
- Part 2: How to Set Up Text-To-Speech Notifications on Discord?
- Part 3: How to Use Text-To-Speech in Discord Chatting?
- Part 4: How to Mute All Text-To-Speech Messages on Discord?
- Part 5: Best Text-To-Speech Bots on Discord
Part 1: How to Enable Text-To-Speech Feature in Discord?
Before you can deploy TTS in your chats, you need to change the settings of your profile to enable this option. This isn’t hard to do – just go to the Discord app and select ‘Settings’ from the menu, which will trigger a pop-up window to appear on your screen. Next, you need to find the Text & Images section in the App Settings window, then scroll down to find the Text-to-Speech option, and finally tick the boxes next to Allow playback and Usage of TTS items. After you do this, your Discord will be ready to process your text messages in voice format.
To test whether you successfully activated Text-to-Speech, open any chats on your personal server and try typing out a message, followed immediately by the tag /tts. If everything is working correctly, your message should appear on the screen in the text form, accompanied by its voice rendering delivered by an automated module. The timing of the two should be perfectly synchronized so that you hear the message and see the text at exactly the same instance. Otherwise, go back to settings and make sure you activated the TTS option properly or restart your Discord app.
Part 2: How to Set Up Text-To-Speech Notifications on Discord?
Another practical possibility that can improve your Discord experience is to set up TTS notifications and be immediately informed whenever a fresh message arrives. This can also be done after you change the app parameters from the ‘Settings’ menu. After you see all options, choose ‘App Settings’ and search for the section named ‘Notifications’. By scrolling down, you will reach the item ‘Text-to-Speech notifications’ and after clicking on it you will be given a choice between three options.
The first option For all channels is to enable notifications on all channels on Discord; choosing it will result in a robotic voice reading all messages from all chats, regardless of whether they have a /tts tag. This option can be useful when you want to maximize your accessibility and receive important information instantly.
By picking the second option, For current selected channel, you can enable TTS notifications only on the current channel. This action will instruct Discord to have an automated voice read all the incoming messages on the active chat aloud, allowing you to stay in the loop at all times. This possibility works well for people who occasionally do multiple things at once, for example, gamers or streamers who use Discord to stay connected with their fans and friends while they are busy.
Finally, you can choose Never to hear any voice messages from your Discord chats never. If you pick this setting, even those messages that were sent with the /tts tag will only be displayed in the text format. This option provides you with peace of mind and prevents spammers from saturating you with voice messages you have no interest in hearing.
Part 3: How to Use Text-To-Speech in Discord Chatting?
It’s not very hard to learn how to effectively use the TTS option in your chats on the Discord platform. This communication format is available on all channels that have an activated Text-to-Speech setting, so you can freely add a few messages to be read aloud or completely switch to automated voice format if you so desire. Doing this in practice is very simple – just start your message by typing the tag /tts and then enter your text as you normally would.
Your TTS message will be reproduced in a voice format by a Discord bot to all participants in the chat who didn’t mute incoming Text-to-Speech chats. An automated voice will say the entire message, and then also pronounce your username to identify the author. At the same time, the message will appear in the chat feed as plain text, so that even those recipients unable to hear it will be able to see the contents.
Part 4: How to Mute All Text-To-Speech Messages on Discord?
You can also decide to prevent any messages from being played to you in a voice format and receive them as text only. This option is available even if you are not the administrator of the chat server and simply want to customize your own experience. To do this, you need to open the Discord app and enter the Settings menu, before selecting the Text & Images section from App Settings. After this, you need to find the Text-to-Speech sub-menu and open it to find the Allow Playback feature. If you disable this feature, you will effectively mute all incoming TTS messages across all Discord servers you are active on.
Please keep in mind that deactivating the aforementioned feature won’t block TTS messages from reaching you, but you will see them as text only. On the other hand, you can’t use the /tts tag to send your own Text-to-Speech while the playback setting is disabled. Nothing is preventing you from turning it back on when you want to have a TTS capacity on Discord again.
Part 5: Best Text-To-Speech Bots on Discord
One of the reasons why Discord is so popular is that it allows extensive customization through user-made Bots or modules that automatically perform a certain task. There are several great Bots that can be used for Text-to-Speech, so you might consider utilizing one of them.
1. Text to Speech (TTS)
With many languages supported and a wide range of cool commands, this bot could be the best choice for people who use TTS just for fun.
2. KD Bot
A very popular option for Text-to-Speech on Discord that lets you choose from more than 100 voices and supports upwards of 100 languages, making it a powerful translation tool.
3. Fergun
This multi-language tool responds to more than 100 different commands, so it can be used for a wide variety of purposes with stunning effectiveness.
Frequently asked questions about TTS on Discord
- Can I use the Text-to-Speech feature on Discord from a mobile phone?
Unfortunately, you can’t. Discord works quite well as a text messaging app on mobile platforms, but at this time Text-to-Speech functionality is limited to desktop users.
- Why can’t I use Text-to-Speech on a Discord server?
If you are unable to send or receive TTS messages on Discord, you need to change your settings. Please see Part 1 of this article for detailed instructions.
Richard Bennett
Richard Bennett is a writer and a lover of all things video.
Follow @Richard Bennett
Stand Out on Discord: Choosing Striking Banners & Profile Graphics
Top 9 Discord Banner Makers and How to Make One Easily
Richard Bennett
Mar 27, 2024• Proven solutions
A Discord banner is best to customize your Discord account and make it more convincing. It allows you to improvise your profile icon with one of your favorite movies, games, memes, or anime characters. You can even decorate the space with your face.
Before looking at the steps to create a Discord profile banner, it’s crucial to note that only Nitro users can use this feature. You’ll have to settle for a limited list of 10-15 pre-made banners if you’ve not yet accessed the Nitro plan. These Discord banners feature solid colors and basic designs. What’s more, you can’t modify your banner for Discord on the Discord mobile apps. It’s only accessible via desktop versions.
In this article, we’ll discuss the top 9 Discord banner makers, plus a helpful section on how to create your Discord banner.
- Part 1: Top 9 Discord Banner Makers in 2022 [with free templates]
- Part 2: How to Create a Discord Banner with Kapwing
- Part 3: FAQs about Discord Banner
Part 1: Top 9 Discord Banner Makers in 2022 [with free templates]
1. Visme
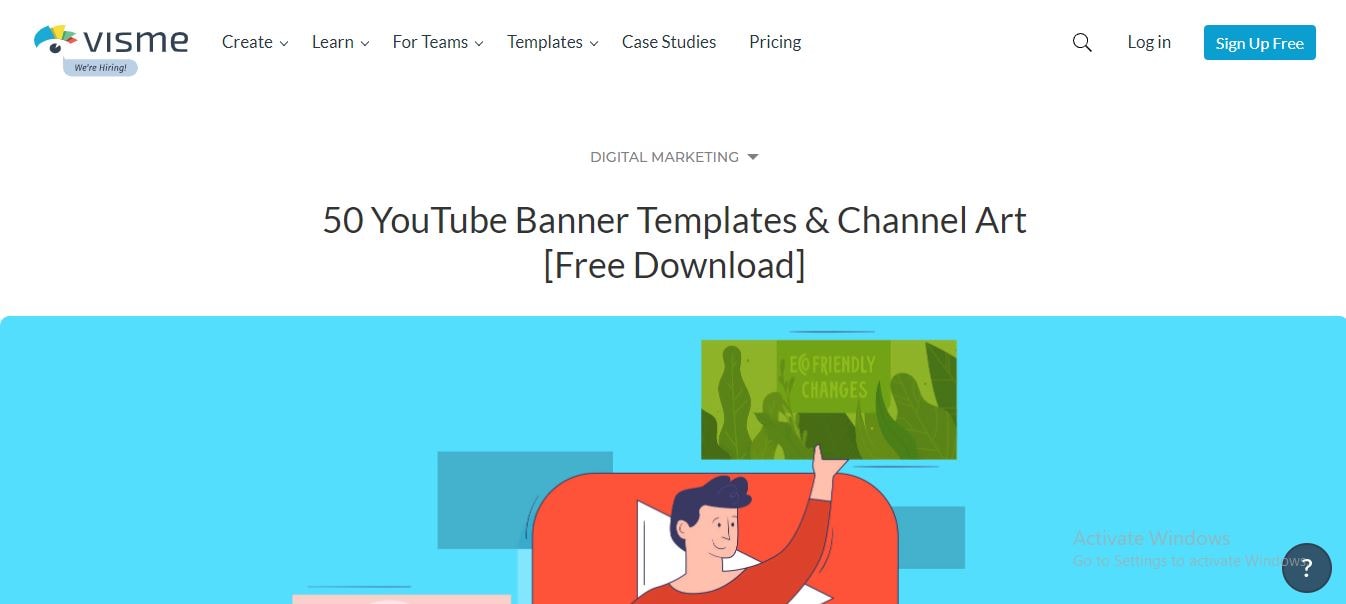
Visme offers 50 plus free channel art editable templates through their online graphics service. However, it has a bit more complex UI than some of the other makers on this list, but the free templates are wonderful, and you can upload your images to edit with them.
2. Fotor
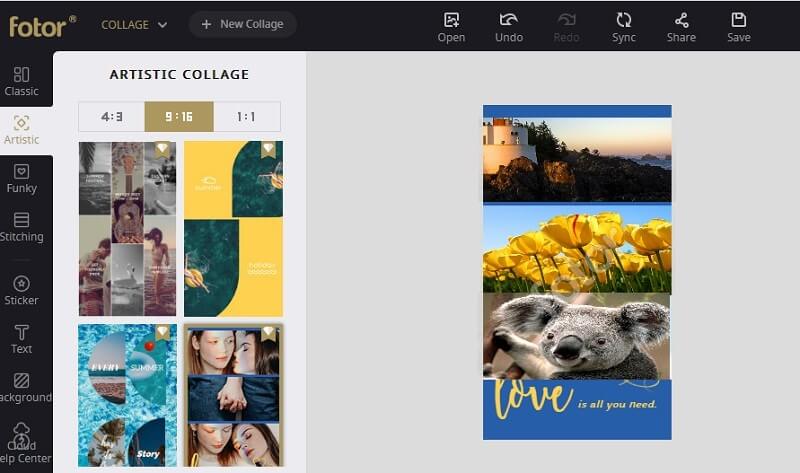
Another graphics program with free templates is Fotor. It is easy to use – perhaps the most accessible program on this list. You click on the element in your template and then click on what you want to replace it with, and thus you don’t even have to use the drag and drop feature in the ‘background’ tab. Of course, you can upload your photos as well.
There are subscription options in Fotor. Thus, you get a watermark for your project unless you pay for premium services, but there are enough free options to satisfy most creators.
3. Snappa
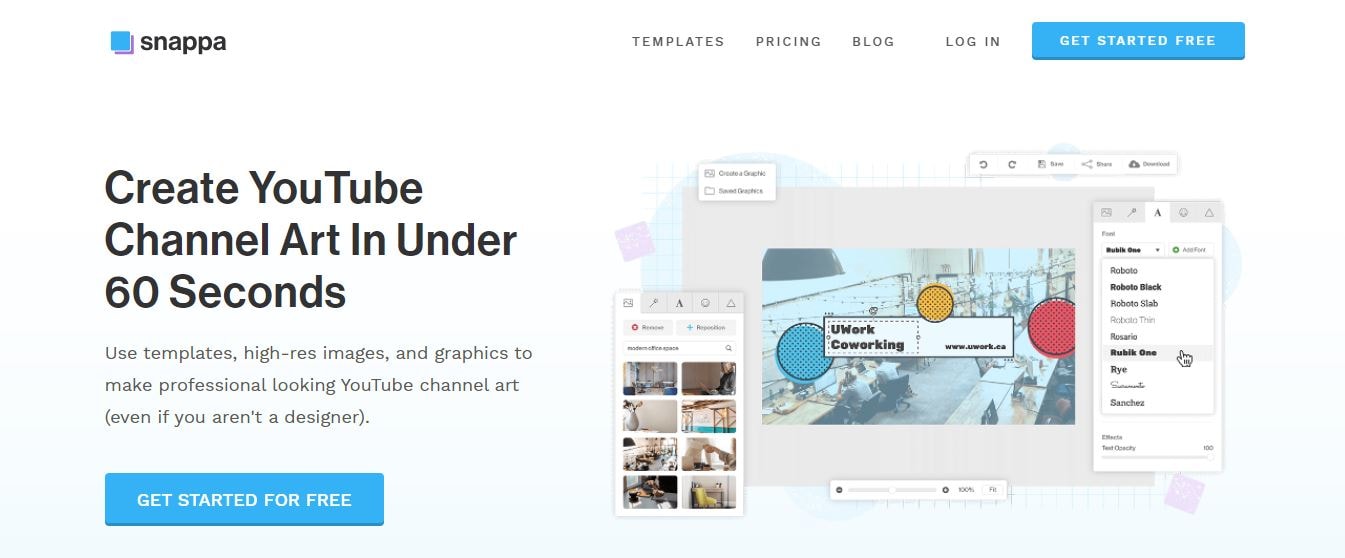
If you want to get something quick in design, Snappa is the right choice. First, choose one of the free templates under the YouTube Channel Art under the Headers tab. Then it’s just a matter of elements swapping in the template with ones that suit your channel.
Snappa shows you the ideal placement section for different devices while you edit.
4. Crello
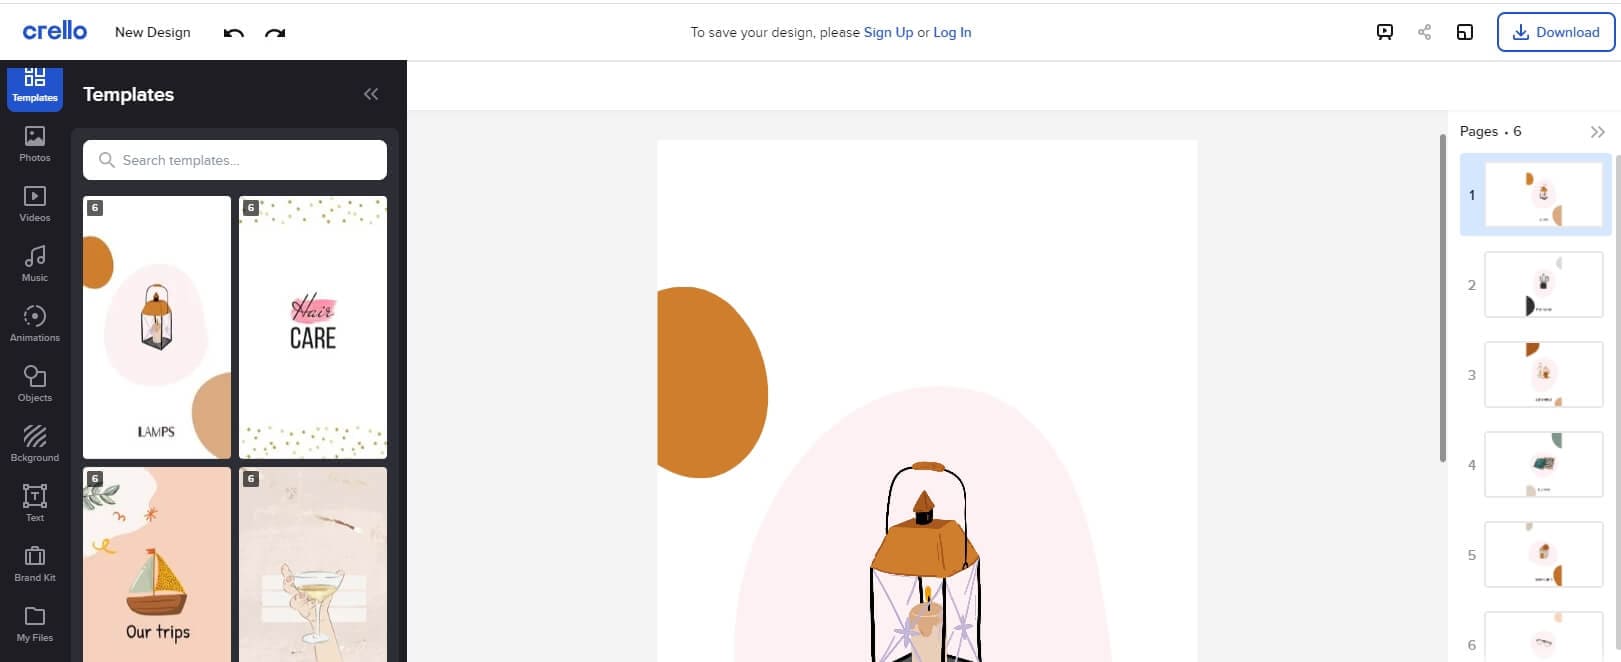
Crello provides ten free examples of channel art templates through their blog, and you can rightly edit them on the site.
Crello is a simple visual editor designed for social media and marketing creators, meaning that non-design people can quickly jump into this platform. Beyond the free text options and templates, however, most of their backgrounds and stock photos cost $1. You’re required to use the default images to use Crello for free or upload your own.
5. Design Wizard
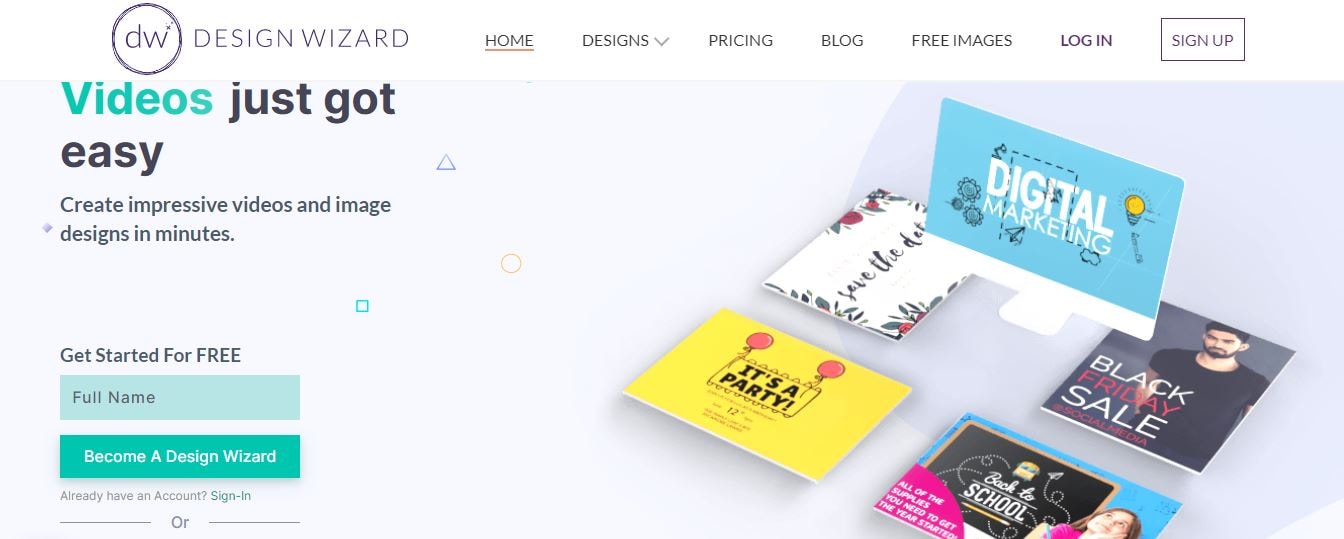
This is another Discord banner maker with a few free templates to design or craft anything out through personalization. One of the best valuable abilities of the design wizard is that it will display the ‘safe zone’ – the area of your Discord banner that will show up on any device screen – so you can design keeping those dimensions in mind.
Also, make sure to delete the safe zone marker before you export.
6. Canva
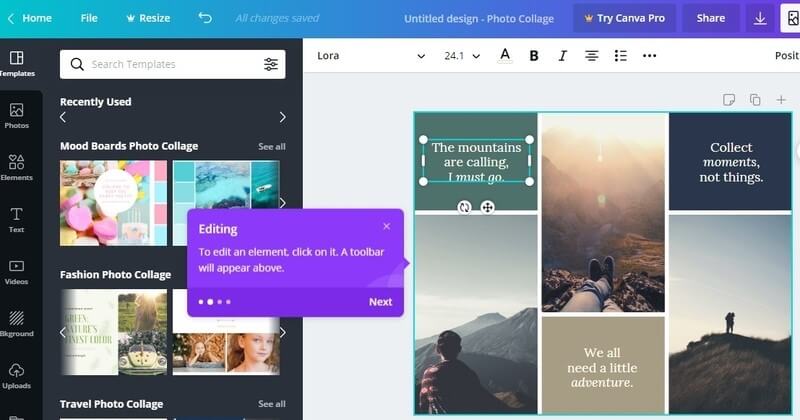
Canva is one of the famous and free channel art makers. It is simple with a drag-and-drop editor. Also, the program will automatically resize images to adjust easily within the Discord banner space. It has a variety of free resources like stock photos. Some resources are paid ($1), but most of them are free.
7. Adobe Spark
While editing the Discord banner templates via Adobe Spark, click on the resources in the template and then select the images/fonts/etc., that you want to use. Resources like filters are also very accessible.
The only drawback of Spark is that the watermarks are in free downloads. However, the watermark is quite small, meaning that it won’t show up for viewers as it is placed in the bottom-right corner watching your channel on either mobile devices or computers.
Note: Whenever you click ‘Create your YouTube channel art,’ it will show you a thumbnail template instead of a banner template. Hit the Resize button in the side menu and switch to your exported images or the channel art.
8. BeFunky
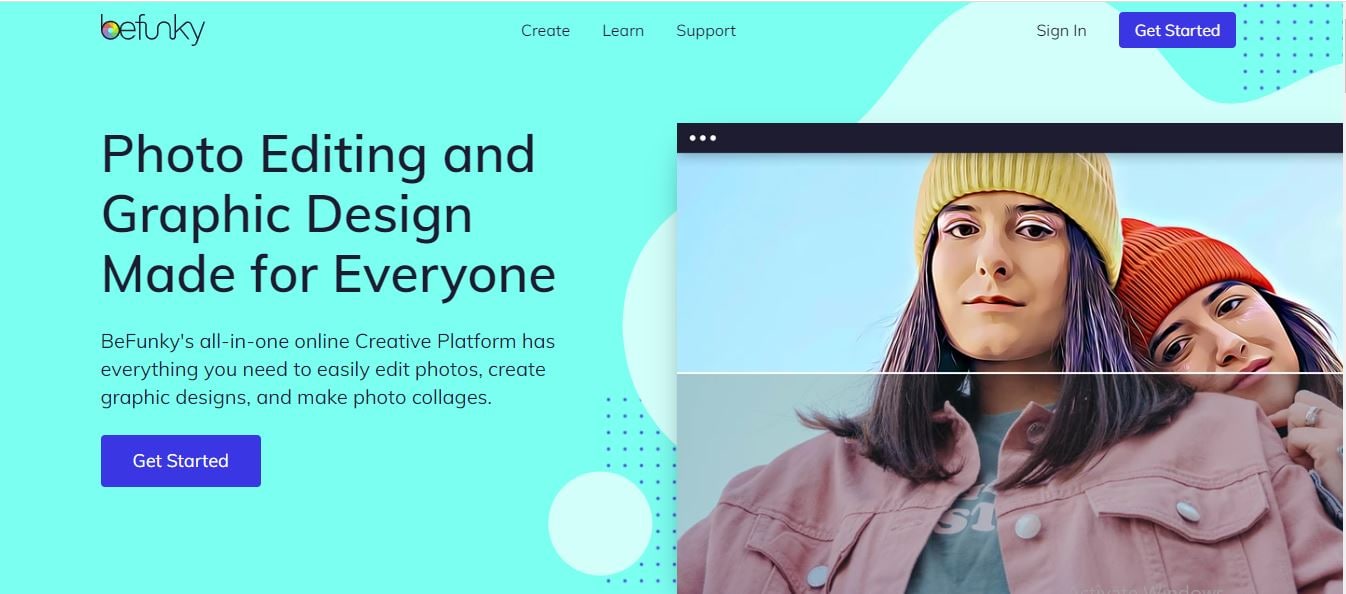
This is a graphics creator platform that doubles as a Discord profile banner maker as well. You need to head towards BeFunky’s ‘Designer’ tool and look for the channel art templates under ‘YouTube’ and ‘Social Media Headers.’ However, we won’t find here any free art templates.
9. Wondershare PixStudio
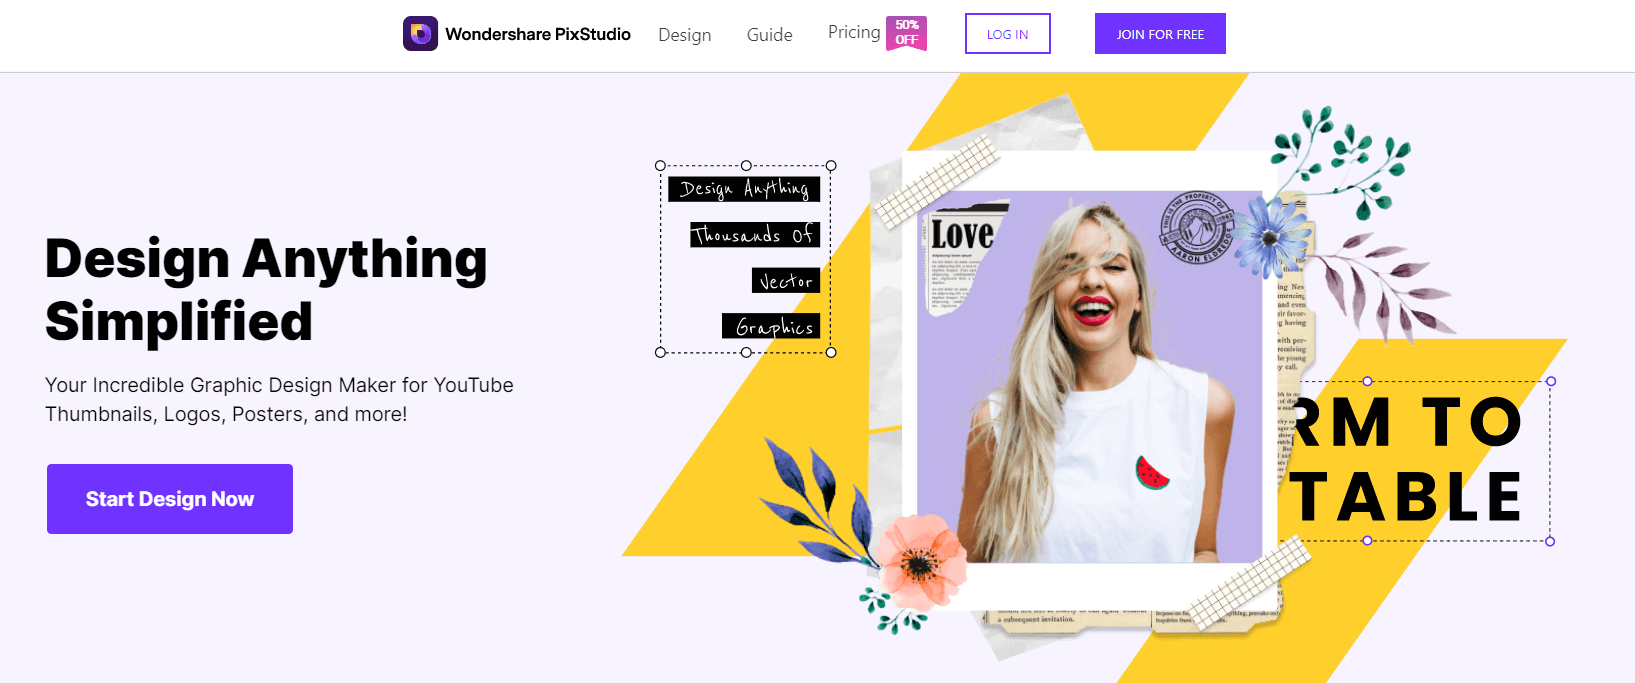
Wondershare PixStudio has certain unique features to erase the image background. With a single tap only, you can quickly remove the image background; then, you can use your image flexibly. And, it’s just a subscription of $7.99 per month to use the features.
Part 2: How to Create a Discord Banner with Kapwing
Since your server banner will take up an important place in your Discord server, you must make yours look just right. You have to consider the dimensions, formatting, and arrangement of the Discord profile banner.
- Use optimal dimensions
- Make sure the important parts are visible
- How to upload your banner image
Step 1: Use Optimal Dimensions
Discord recommends that your image have optimal dimensions of 960x540 at least, which is different than 16:9 images. You can use a slightly larger 16:9 aspect ratio for great appearances, like 1920x1080 or even 2560x1440.
With Kapwing Studio, you can crop any photo to a 16:9 aspect ratio and resize it to the given dimensions. Visit Kapwing.com in your browser, click Start Editing, and paste the link to a photo you found online or upload your image directly on the Studio.
Now, click the Crop tool to make your photo 16:9, and head towards the Output Size options to make your aspect ratio larger than 960x540.
Step 2: Make Sure the Important Parts Are Visible
This is the essential part of setting up your Discord banner – making sure your banner is properly visible on the Discord.
Your banner image’s safe zone is that you should keep ideal sections out of the top 28% since that’s where your server’s options and name button will show.
The portion is a bit covered with text about the top 22% of your Discord banner photo. So, keep important sections and the text of your image below the top 120 pixels on a 960x540 Discord banner.

Source: kapwing.com
Now, you must note that the Discord profile banner will display as it starts fading about halfway down until merging in with the bottom-edge dark grey area of Discord.
And, you can smoothly edit any design elements, titles, text, or essential visuals at the bottom of the Discord profile banner. You should relocate them closer to the frame’s center to be visible.

Source: kapwing.com
Hit the Crop button in the Kapwing Studio to add text boxes for banner personalization and horizontally flip your images to keep elements aside from the upper left corner. Hit the green Export Image button after you are over with cropping, then the Download button to save your banner to your device.
Step 3: Upload Your Banner Image
Adding a Discord profile banner is intuitive once your server boosts enough to reach level 2. Just open your server dropdown menu and hit the Server Settings, then choose “Upload Background.”
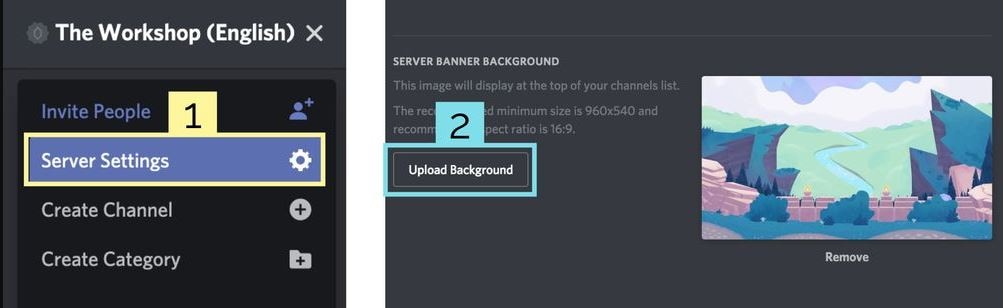
Source: kapwing.com
Here, look for the image in your camera roll or files and upload it to your Discord channel server. It’s that simple!
Part 3: FAQs about Discord Banner
1 - How do you make a banner on Discord?
You can consider various banner makers mentioned above to make a banner on Discord. However, you have to ensure compliance with Discord banner size requirements.
2 - How do I get free Discord banners?
You can find free custom Discord Banner images already optimized and cropped for the Discord banner. Browse thousands of profile banners in categories like animated, meme, etc., on pfps.gg website to get free discord banners.
3 – Can the Discord banner be GIF?
Yes, uploading a Discord banner in GIF format is allowed.
Conclusion
The ability to set a Discord banner is part of the Discord update called “Custom Profiles Premium.”
The feature is live on Discord, which means that everyone can modify or set Discord profile banners as per their likes and preferences. However, you must have access to Discord Nitro to change your profile banner. And, users who don’t have Discord Nitro are not allowed to set a profile banner.
Richard Bennett
Richard Bennett is a writer and a lover of all things video.
Follow @Richard Bennett
Richard Bennett
Mar 27, 2024• Proven solutions
A Discord banner is best to customize your Discord account and make it more convincing. It allows you to improvise your profile icon with one of your favorite movies, games, memes, or anime characters. You can even decorate the space with your face.
Before looking at the steps to create a Discord profile banner, it’s crucial to note that only Nitro users can use this feature. You’ll have to settle for a limited list of 10-15 pre-made banners if you’ve not yet accessed the Nitro plan. These Discord banners feature solid colors and basic designs. What’s more, you can’t modify your banner for Discord on the Discord mobile apps. It’s only accessible via desktop versions.
In this article, we’ll discuss the top 9 Discord banner makers, plus a helpful section on how to create your Discord banner.
- Part 1: Top 9 Discord Banner Makers in 2022 [with free templates]
- Part 2: How to Create a Discord Banner with Kapwing
- Part 3: FAQs about Discord Banner
Part 1: Top 9 Discord Banner Makers in 2022 [with free templates]
1. Visme
Visme offers 50 plus free channel art editable templates through their online graphics service. However, it has a bit more complex UI than some of the other makers on this list, but the free templates are wonderful, and you can upload your images to edit with them.
2. Fotor
Another graphics program with free templates is Fotor. It is easy to use – perhaps the most accessible program on this list. You click on the element in your template and then click on what you want to replace it with, and thus you don’t even have to use the drag and drop feature in the ‘background’ tab. Of course, you can upload your photos as well.
There are subscription options in Fotor. Thus, you get a watermark for your project unless you pay for premium services, but there are enough free options to satisfy most creators.
3. Snappa
If you want to get something quick in design, Snappa is the right choice. First, choose one of the free templates under the YouTube Channel Art under the Headers tab. Then it’s just a matter of elements swapping in the template with ones that suit your channel.
Snappa shows you the ideal placement section for different devices while you edit.
4. Crello
Crello provides ten free examples of channel art templates through their blog, and you can rightly edit them on the site.
Crello is a simple visual editor designed for social media and marketing creators, meaning that non-design people can quickly jump into this platform. Beyond the free text options and templates, however, most of their backgrounds and stock photos cost $1. You’re required to use the default images to use Crello for free or upload your own.
5. Design Wizard
This is another Discord banner maker with a few free templates to design or craft anything out through personalization. One of the best valuable abilities of the design wizard is that it will display the ‘safe zone’ – the area of your Discord banner that will show up on any device screen – so you can design keeping those dimensions in mind.
Also, make sure to delete the safe zone marker before you export.
6. Canva
Canva is one of the famous and free channel art makers. It is simple with a drag-and-drop editor. Also, the program will automatically resize images to adjust easily within the Discord banner space. It has a variety of free resources like stock photos. Some resources are paid ($1), but most of them are free.
7. Adobe Spark
While editing the Discord banner templates via Adobe Spark, click on the resources in the template and then select the images/fonts/etc., that you want to use. Resources like filters are also very accessible.
The only drawback of Spark is that the watermarks are in free downloads. However, the watermark is quite small, meaning that it won’t show up for viewers as it is placed in the bottom-right corner watching your channel on either mobile devices or computers.
Note: Whenever you click ‘Create your YouTube channel art,’ it will show you a thumbnail template instead of a banner template. Hit the Resize button in the side menu and switch to your exported images or the channel art.
8. BeFunky
This is a graphics creator platform that doubles as a Discord profile banner maker as well. You need to head towards BeFunky’s ‘Designer’ tool and look for the channel art templates under ‘YouTube’ and ‘Social Media Headers.’ However, we won’t find here any free art templates.
9. Wondershare PixStudio
Wondershare PixStudio has certain unique features to erase the image background. With a single tap only, you can quickly remove the image background; then, you can use your image flexibly. And, it’s just a subscription of $7.99 per month to use the features.
Part 2: How to Create a Discord Banner with Kapwing
Since your server banner will take up an important place in your Discord server, you must make yours look just right. You have to consider the dimensions, formatting, and arrangement of the Discord profile banner.
- Use optimal dimensions
- Make sure the important parts are visible
- How to upload your banner image
Step 1: Use Optimal Dimensions
Discord recommends that your image have optimal dimensions of 960x540 at least, which is different than 16:9 images. You can use a slightly larger 16:9 aspect ratio for great appearances, like 1920x1080 or even 2560x1440.
With Kapwing Studio, you can crop any photo to a 16:9 aspect ratio and resize it to the given dimensions. Visit Kapwing.com in your browser, click Start Editing, and paste the link to a photo you found online or upload your image directly on the Studio.
Now, click the Crop tool to make your photo 16:9, and head towards the Output Size options to make your aspect ratio larger than 960x540.
Step 2: Make Sure the Important Parts Are Visible
This is the essential part of setting up your Discord banner – making sure your banner is properly visible on the Discord.
Your banner image’s safe zone is that you should keep ideal sections out of the top 28% since that’s where your server’s options and name button will show.
The portion is a bit covered with text about the top 22% of your Discord banner photo. So, keep important sections and the text of your image below the top 120 pixels on a 960x540 Discord banner.
Source: kapwing.com
Now, you must note that the Discord profile banner will display as it starts fading about halfway down until merging in with the bottom-edge dark grey area of Discord.
And, you can smoothly edit any design elements, titles, text, or essential visuals at the bottom of the Discord profile banner. You should relocate them closer to the frame’s center to be visible.
Source: kapwing.com
Hit the Crop button in the Kapwing Studio to add text boxes for banner personalization and horizontally flip your images to keep elements aside from the upper left corner. Hit the green Export Image button after you are over with cropping, then the Download button to save your banner to your device.
Step 3: Upload Your Banner Image
Adding a Discord profile banner is intuitive once your server boosts enough to reach level 2. Just open your server dropdown menu and hit the Server Settings, then choose “Upload Background.”
Source: kapwing.com
Here, look for the image in your camera roll or files and upload it to your Discord channel server. It’s that simple!
Part 3: FAQs about Discord Banner
1 - How do you make a banner on Discord?
You can consider various banner makers mentioned above to make a banner on Discord. However, you have to ensure compliance with Discord banner size requirements.
2 - How do I get free Discord banners?
You can find free custom Discord Banner images already optimized and cropped for the Discord banner. Browse thousands of profile banners in categories like animated, meme, etc., on pfps.gg website to get free discord banners.
3 – Can the Discord banner be GIF?
Yes, uploading a Discord banner in GIF format is allowed.
Conclusion
The ability to set a Discord banner is part of the Discord update called “Custom Profiles Premium.”
The feature is live on Discord, which means that everyone can modify or set Discord profile banners as per their likes and preferences. However, you must have access to Discord Nitro to change your profile banner. And, users who don’t have Discord Nitro are not allowed to set a profile banner.
Richard Bennett
Richard Bennett is a writer and a lover of all things video.
Follow @Richard Bennett
Also read:
- [Updated] 2024 Approved Leading Social Platforms Iconic Logo Animations
- [Updated] In 2024, Optimizing Your Discord Adventure Essentials to Explore
- [New] In 2024, Boosting Discord's Sound Quality Review of Best Free Voice Changers
- [New] In 2024, Unveiling Best Plugins for a Superior Discord UX
- [Updated] Inside Top Discord Emote Craftsmanship Industry Leaders for 2024
- [New] In 2024, Tailoring Your Text The Discord Formatting Handbook
- [New] How to Modify Your Discord Display at a Glance for 2024
- In 2024, Dive Into DiscoWorld - Our Top 10 Theme Picks
- In 2024, Free Apps to Record and Preserve Your Discord Chats Professionally
- [Updated] Boost Your Discord Engagement with These Essential Plugins
- [New] Step-by-Step Streaming on Discord Tips to Engage and Retain Viewers
- [Updated] 2024 Approved From Joining to Being Known Securing Your Role on Discord
- Master the Art of Messaging in Discord Apps for 2024
- Navigating the Nuances of Network-Based Video Sharing on Discord for 2024
- 2024 Approved Masterful Discord UX with These Top 10 Essentials
- 2024 Approved Notable Platforms Replacing Discord
- [Updated] Unite in Style The BestDiscord's Batch of Top 10 Themes
- [Updated] Inside Look Everything About Discord Stickers for 2024
- [Updated] 2024 Approved Creative Connections Animated Iconography
- [Updated] Unlocking Profile Picture Magic on Discord [Download] for 2024
- [Updated] Mastering Your DiscoVoice Experience with the Best Free Tools
- [New] A Complete Breakdown of Changing Discord Imagery for 2024
- In 2024, Captivating Cool Names A Guide to Popularity on Discord
- 2024 Approved Discovering How to Engage in Discord Calls Easily
- [Updated] Disengage From Discord Services for 2024
- [Updated] Discovering the Value in Discord's Nitro Details & Access Options
- Prevent Cross-Site Tracking on Vivo Y78 5G and Browser | Dr.fone
- [New] Explore 5 Pro Game Record Methods in Windows 11
- [Updated] A Step-by-Step Approach Cropping & Exporting Your Videos to Instagram
- How to Change GPS Location on Samsung Galaxy S23 Ultra Easily & Safely | Dr.fone
- In 2024, How can I get more stardust in pokemon go On Vivo Y56 5G? | Dr.fone
- In 2024, iPogo will be the new iSpoofer On Samsung Galaxy Z Flip 5? | Dr.fone
- [Updated] Elevate Your Farming Game to Immortal Status with These #7-14 Mods for 2024
- Guide to Identifying Recent Instagram Leavers for 2024
- Hacks to do pokemon go trainer battles For Samsung Galaxy S23 Tactical Edition | Dr.fone
- Immediate Insta Photo Series Viewing for 2024
- New This Article Shares Valuable Insight Into the Best Brand Story Videos. Also, It Highlights the Importance of a Video Maker in Your Brand Story Video Ad-Making Process and Why Filmora Should Be Your Go-To Choice
- How to Mirror PC Screen to Vivo Y100i Phones? | Dr.fone
- New In 2024, Measure and Modify Image Proportionality
- New 2024 Approved Lossless VLC Trimming on Mac The Ultimate Guide
- [Updated] In 2024, Instagram Verified Posts - Do They Matter?
- 4 solution to get rid of pokemon fail to detect location On Realme GT 5 | Dr.fone
- Title: "[New] How to Voice-Activate Your Discord Conversations"
- Author: Timothy
- Created at : 2024-05-23 22:47:46
- Updated at : 2024-05-24 22:47:46
- Link: https://discord-videos.techidaily.com/new-how-to-voice-activate-your-discord-conversations/
- License: This work is licensed under CC BY-NC-SA 4.0.
