
!["[Updated] Free Animated Imagery Galore Locate Your Next Set at These Portals for 2024"](https://www.lifewire.com/thmb/jrn7_BTEPTdtz7gSdR5aQaRAIJ0=/400x300/filters:no_upscale():max_bytes(150000):strip_icc()/driver-talent-14b6a9323ae0429e9aa875ed363d5802.png)
"[Updated] Free Animated Imagery Galore Locate Your Next Set at These Portals for 2024"
Free Animated Imagery Galore: Locate Your Next Set at These Portals
8 FREE Emoji Websites to Download Discord Animated Emojis

Shanoon Cox
Mar 27, 2024• Proven solutions
Discord is a platform for hanging out with family, friends, and even workmates. It is a platform that allows people to share their thoughts, videos, and much more. Sharing emoji on Discord is one way of communicating with people.
Emojis on Discord allows expressing the users’ emotions in a short and simple manner. It allows people to speak their mind without the use of words and offending others. This is why emojis are preferred by people all over the world on all social platforms. You can choose to create your own Discord emoji or just download the emoji from websites.
Here we will talk about Discord emojis and the websites from which Discord emojis can be downloaded by anyone for free. Also, we will discuss Wondershare Filmora, which is a very popular video editing application, and how emojis can be added to videos.
- Part 1: Free Emoji Websites to Download Discord Animated Emojis
- Part 2: How to Add/Upload Emojis to Discord
- Part 3: Bonus Tip-Add Emoji to Your Video with Wondershare Filmora
Part 1: Free Emoji Websites to Download Discord Animated Emojis
A number of emoji are available by default and on different keyboard applications. But that is not enough for most people. To be able to expressions a lot more emojis will be needed, which can be downloaded from online websites.
Here we will discuss some of the websites from which Discord emoji can be downloaded for free on any device.
- 1.Emoji.gg
- 2.Animated Emojis
- 3.Discord.st
- 4.Discordservers.me
- 5.Giphy
- 6.Getemoji
- 7.Tenor
- 8.Animated images
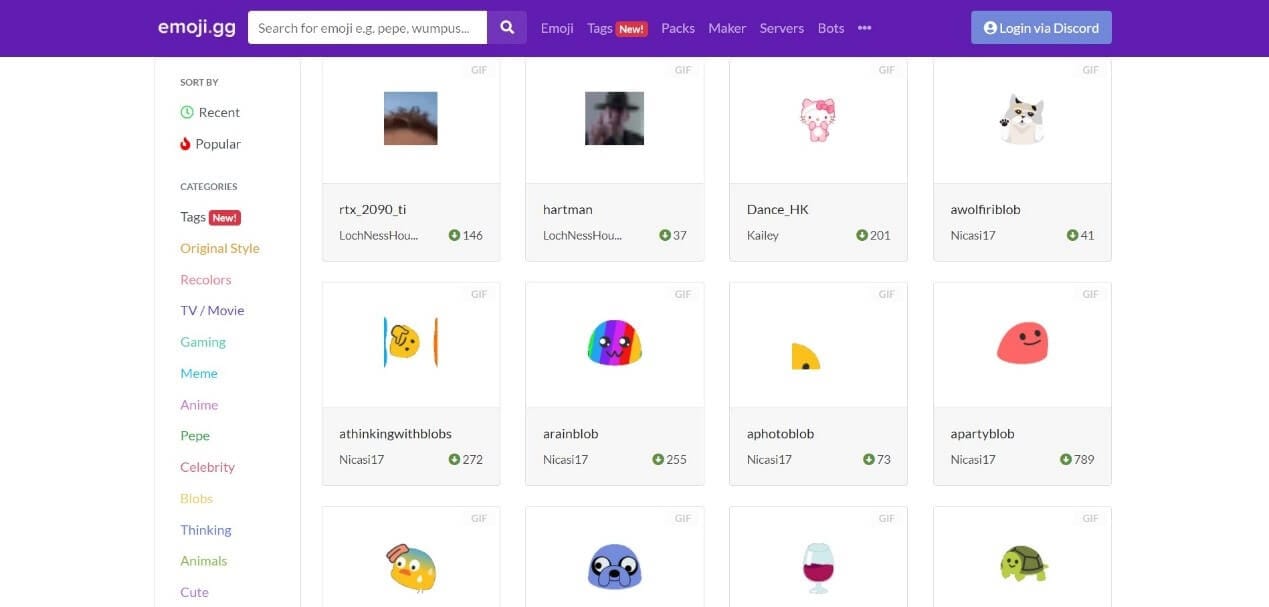
1.Emoji.gg
Emoji.gg is a simple online tool that offers a wide range of Discord emoji to everyone for free. The collection is grouped into categories and the most popular ones are also listed here. Emoji.gg allows its users to connect directly with Discord and use the emoji directly from the Discord application. This tool also allows users to create their emojis using the Maker option.
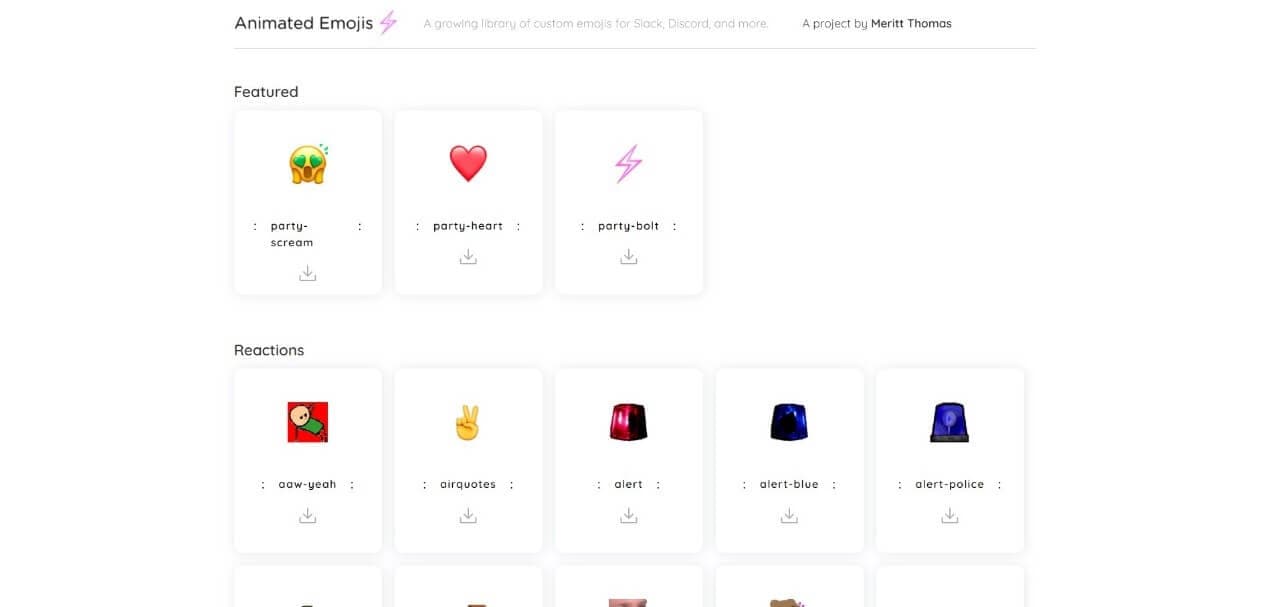
2.Animated Emojis
Animated Emojis is one of the simplest online tools that you will ever find. It consists of a large number of Discord emojis listed in alphabetic order. Even though there is a huge collection of emojis, it is difficult to choose specific emojis from this big list. Emojis from this tool can be downloaded with a single click. But to use as Discord emojis, these must be uploaded to Discord separately.
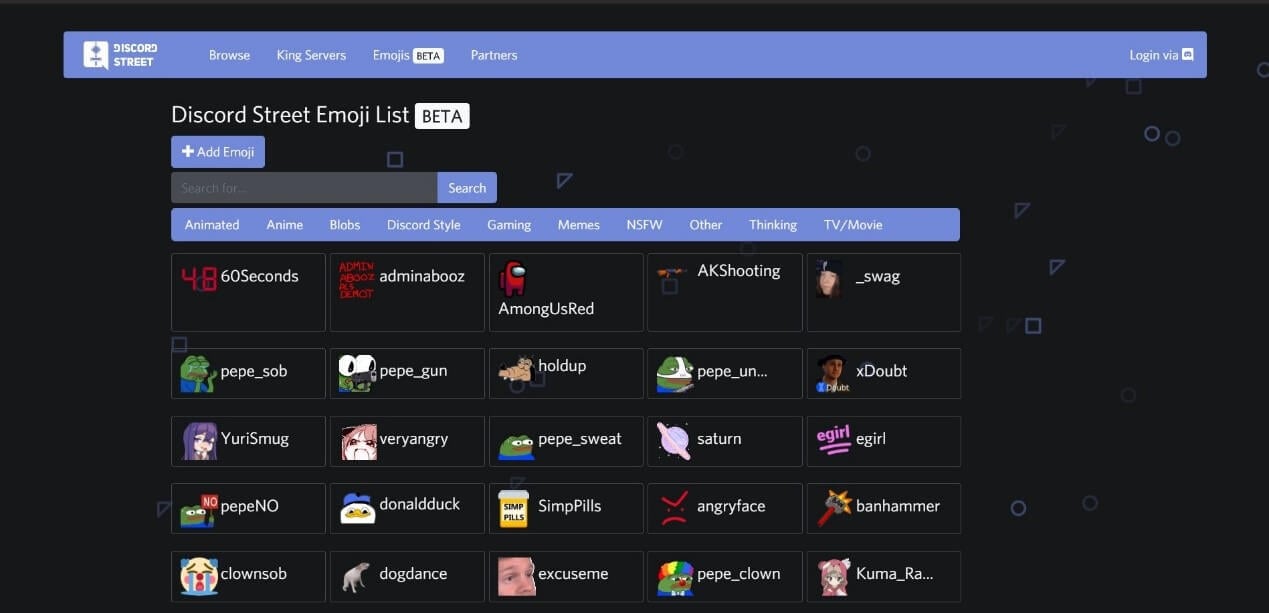
3.Discord.st
Discord.st is a website that has a Beta version of Discord emojis and several servers where Discord users can make friends and share their favorite emoji on Discord. On this website, the emojis cannot be downloaded directly to ones’ device, instead, you can log in using your Discord id and use the emojis directly. You can create your customized pack of Discord emoji on this platform and use them according to your convenience.
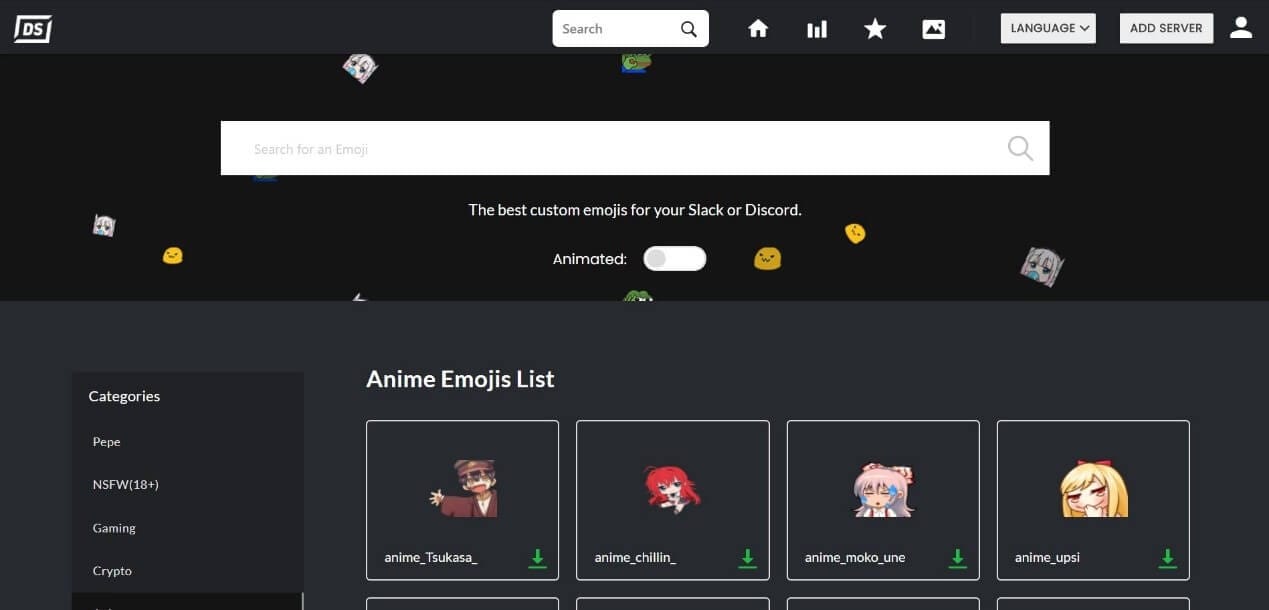
4.Discordservers.me
Discordservers.me is a very helpful online tool for Discord and slack users. The emojis on this website are created especially for Discord users and offers a variety of options for them. You can either search for specific emojis you like or can browse from the categories the website has provided. There is also a tab that can be used to switch between animated and non-animated emojis. This tool allows you to create a personalized server and add emojis to at and these emojis can be directly used by signing into Discord from this tool.
5.Giphy
Giphy is an interesting tool that offers a wide range of emoji stickers and GIFs to its users. The emojis that they provide can be further edited according to your wish before downloading. The emojis in this tool is sorted in a useful manner for the easiness of users. In order to access all the features this site offers, you will need to login first. The emojis can be downloaded according to your choice and can be used as Discord emojis after uploading it into Discord.

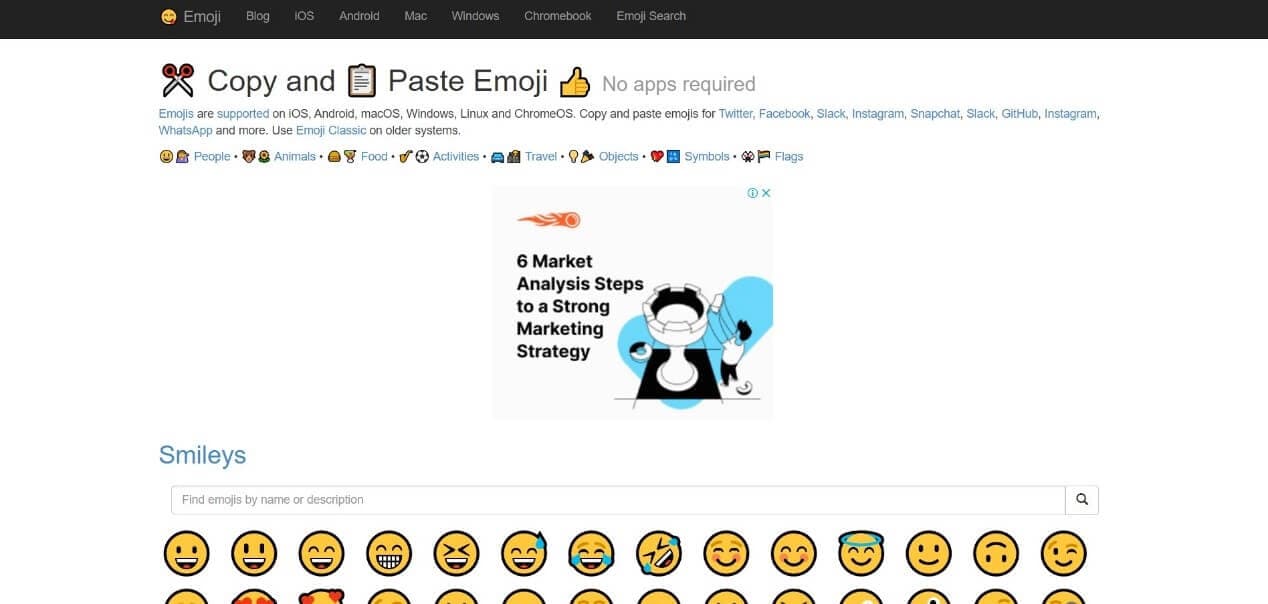
6.Getemoji
Getemoji is a simple common tool that can be used to download much less interesting Discord emojis. It is a tool that provides a lot of emojis for the basic expression of emotions. No social applications are linked to this tool. A simple copy-paste method is how these emojis can be used on social media platforms like Discord, Facebook, etc. There is a search bar to easily find the emojis you are interested in.
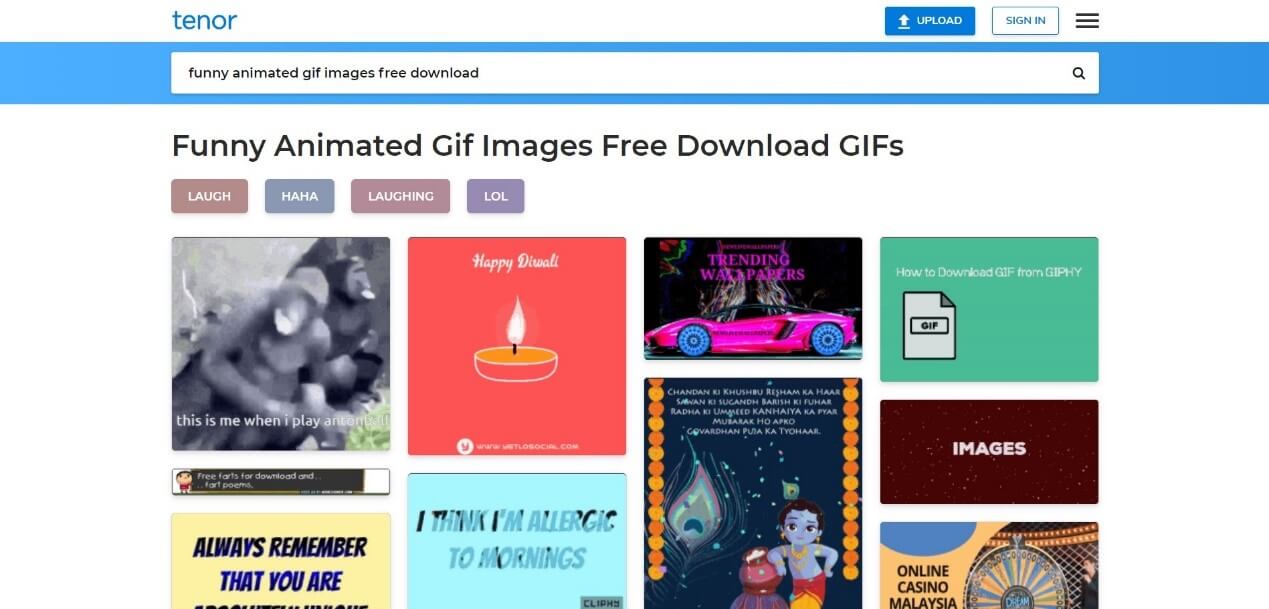
7.Tenor
Tenor is an online tool that offers a large number of GIF emojis to be used on social media platforms. This tool consists of all emoji categories that can be used to express whatever you feel in a funny manner. Tenor does not allow access to any social applications and the emojis can only be uploaded directly to your device. This tool allows the uploading of ten emojis at a time and is accessible to Windows, Mac, and Android users.
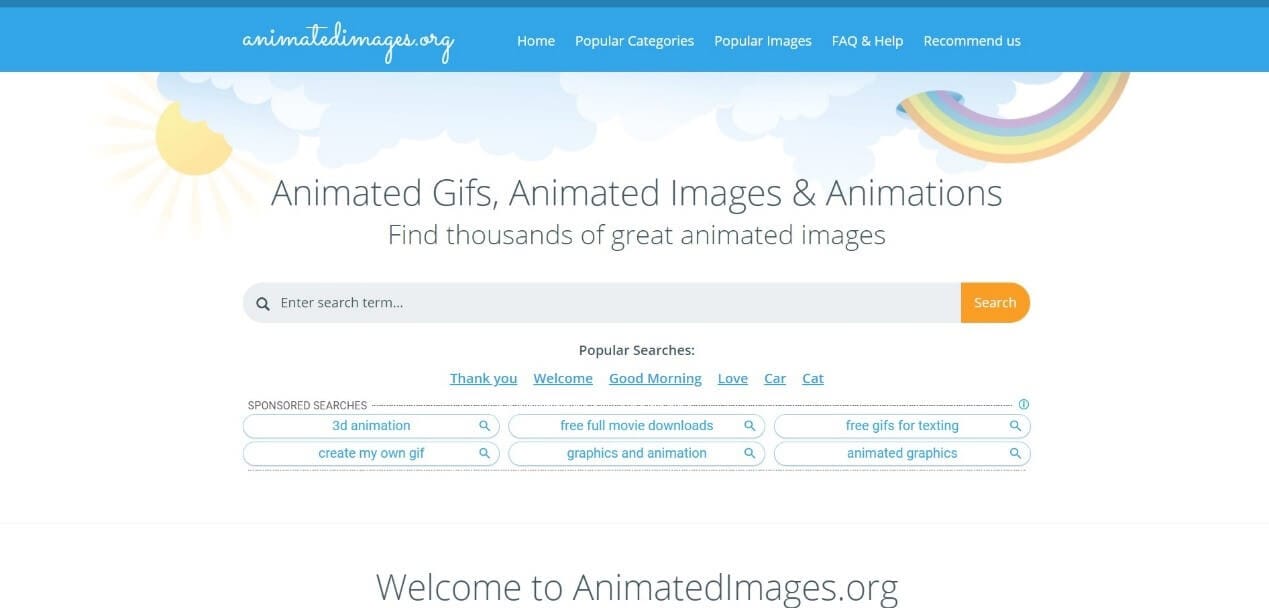
8.Animated images
Animated images is a tool that offers thousands of animated Gifs, animated images, and animations to their users. It has a large category of emojis to choose from and you will never run out of Discord emojis. The emojis from this tool can directly be downloaded and used as Discord animated emojis after uploading to the app or the URL can be copied. The one-click download option makes it easier to download the Discord emojis on this site.
For all the online tools that do not provide direct access to Discord, the emojis must be downloaded and uploaded to Discord separately to be able to use it.
Part 2: How to add/upload emojis to Discord
Discord is a social application that allows its users to create groups of people and communicate with them in an easy and interesting manner. These groups can be your family group, friends group, sports-related, business-related, or any other group.
But since communication is the purpose, emojis plays an important role. Discord emojis can be used to make any conversation interesting, more appealing, and funny. It helps to reveal what exactly a person has in his/her mind.
There are a lot of third-party tools and applications that provide Discord animated emojis. Let us find out how these emojis, after downloading, can be uploaded to Discord.
You will need to have a paid Discord Nitro account to be able to use animated emojis.
Step 1: Log into Discord and open the server you wish to upload the emojis to. Then click the arrow beside the server name.
Step 2: Tap on Server Settings.

Step 3: From the window that opens, tap on Emoji on the left and then on the Upload Emoji option on the right side.
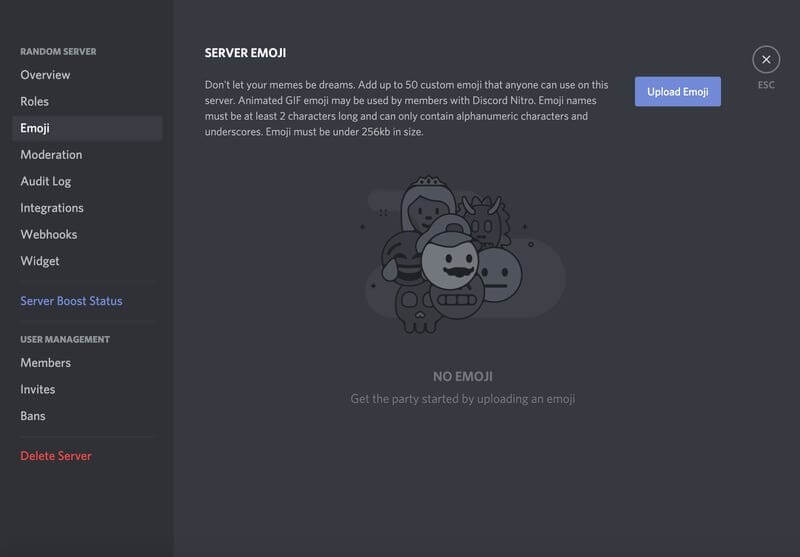
Step 4: Select the emojis you wish to add from the device location.
Using Discord from a browser or desktop is necessary to be able to upload your emojis.
Bonus Tip-Add Emoji to Your Video with Wondershare Filmora
Wondershare Filmora is one of the best video editing applications that have all the features needed for editing a video, including the latest formats and functions. This application is preferred both by beginners and professionals alike due to its easy to use intensive, extensive features and options and high-quality video exporting options.
Let’s see how this video editing application can be used to add emojis to a video.
1. Download and install Wondershare Filmora on your device and open it.


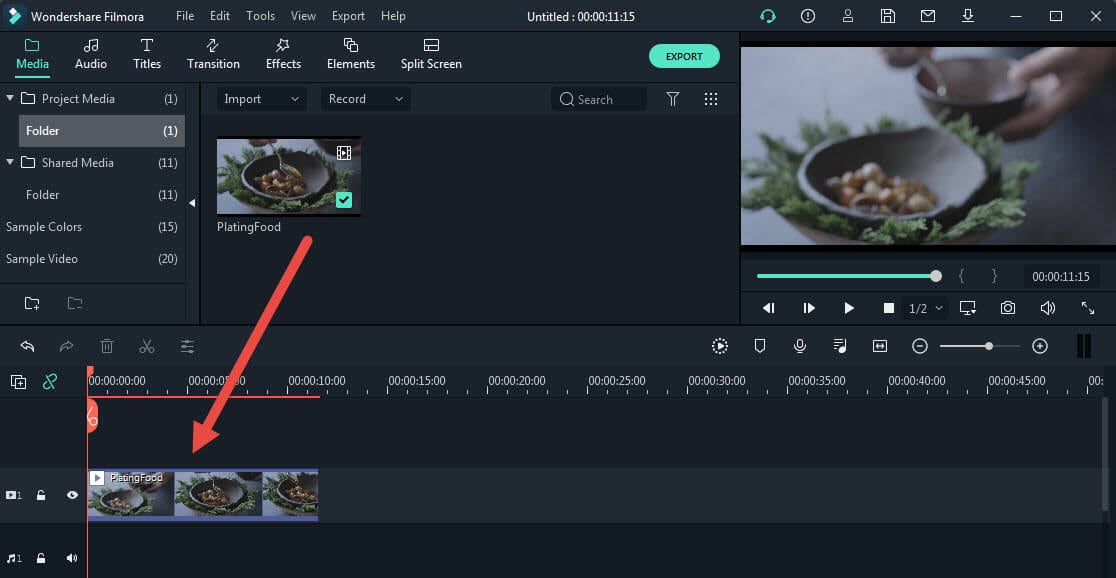
2. Import the video file you wish to edit by tapping on File – Import Media – Import Media Files. After importing the file, drag and drop the file onto the Filmora timeline to start editing the video.
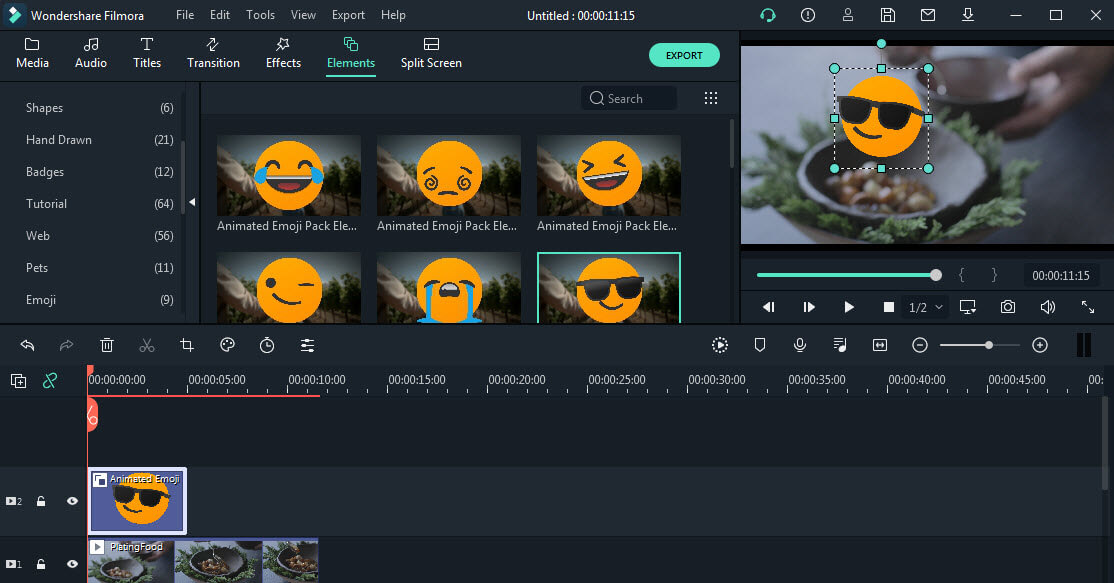
3. Sometimes an emoji can express what 100 words cant. So to add emoji to your video, tap on Elements on the top bar and then select the Emoji option

4. Select the emoji you wish to add. You can customize the emoji by adding texts, changing fonts, shapes, etc.
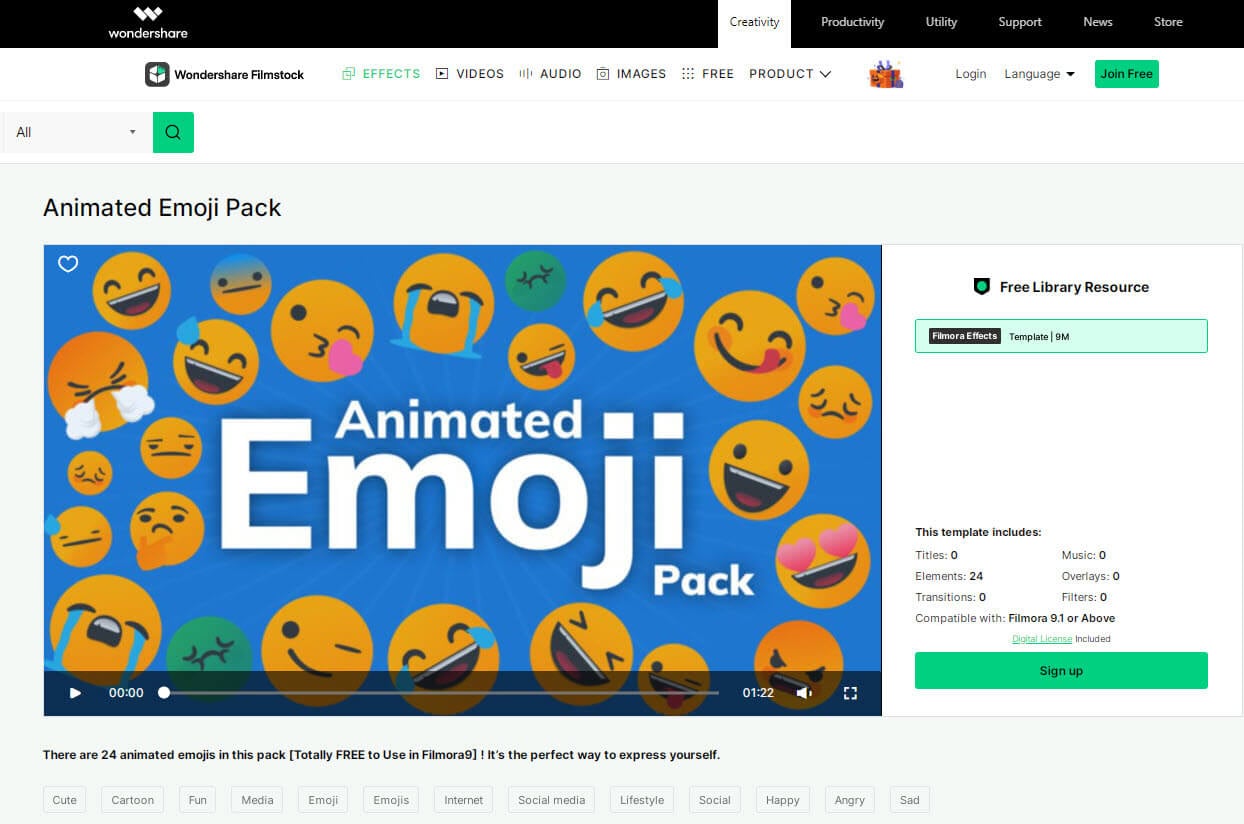
To get more emoji options than the default ones provided in Wondershare Filmora, you can go to Wondershare Filmstock and download the Animated Emoji pack. This pack offers a lot more interesting emojis and is available for FREE!
5. After customization of the emoji drag and drop the emoji to your timeline. Multiple emojis can be added to a single video in Filmora.
6. Once the editing is over, tap on the Export button to save the video on your device, or directly upload it to any social platform like YouTube or Vimeo. Many formats are available for you to choose from while exporting the video.

Conclusion
Emojis plays an integral part in today’s communication. Discord emojis help to make the chats with people we know more interesting and help us express emotions in a better way. A number of emoji websites have been listed in the article to help you to add animated emoji to Discord.
Emojis can also be added to videos to make them more interesting and appealing to the audience by using Wondershare Filmora. Good content always gathers the likes of the audience.
Shanoon Cox
Shanoon Cox is a writer and a lover of all things video.
Follow @Shanoon Cox
Shanoon Cox
Mar 27, 2024• Proven solutions
Discord is a platform for hanging out with family, friends, and even workmates. It is a platform that allows people to share their thoughts, videos, and much more. Sharing emoji on Discord is one way of communicating with people.
Emojis on Discord allows expressing the users’ emotions in a short and simple manner. It allows people to speak their mind without the use of words and offending others. This is why emojis are preferred by people all over the world on all social platforms. You can choose to create your own Discord emoji or just download the emoji from websites.
Here we will talk about Discord emojis and the websites from which Discord emojis can be downloaded by anyone for free. Also, we will discuss Wondershare Filmora, which is a very popular video editing application, and how emojis can be added to videos.
- Part 1: Free Emoji Websites to Download Discord Animated Emojis
- Part 2: How to Add/Upload Emojis to Discord
- Part 3: Bonus Tip-Add Emoji to Your Video with Wondershare Filmora
Part 1: Free Emoji Websites to Download Discord Animated Emojis
A number of emoji are available by default and on different keyboard applications. But that is not enough for most people. To be able to expressions a lot more emojis will be needed, which can be downloaded from online websites.
Here we will discuss some of the websites from which Discord emoji can be downloaded for free on any device.
- 1.Emoji.gg
- 2.Animated Emojis
- 3.Discord.st
- 4.Discordservers.me
- 5.Giphy
- 6.Getemoji
- 7.Tenor
- 8.Animated images
1.Emoji.gg
Emoji.gg is a simple online tool that offers a wide range of Discord emoji to everyone for free. The collection is grouped into categories and the most popular ones are also listed here. Emoji.gg allows its users to connect directly with Discord and use the emoji directly from the Discord application. This tool also allows users to create their emojis using the Maker option.
2.Animated Emojis
Animated Emojis is one of the simplest online tools that you will ever find. It consists of a large number of Discord emojis listed in alphabetic order. Even though there is a huge collection of emojis, it is difficult to choose specific emojis from this big list. Emojis from this tool can be downloaded with a single click. But to use as Discord emojis, these must be uploaded to Discord separately.
3.Discord.st
Discord.st is a website that has a Beta version of Discord emojis and several servers where Discord users can make friends and share their favorite emoji on Discord. On this website, the emojis cannot be downloaded directly to ones’ device, instead, you can log in using your Discord id and use the emojis directly. You can create your customized pack of Discord emoji on this platform and use them according to your convenience.
4.Discordservers.me
Discordservers.me is a very helpful online tool for Discord and slack users. The emojis on this website are created especially for Discord users and offers a variety of options for them. You can either search for specific emojis you like or can browse from the categories the website has provided. There is also a tab that can be used to switch between animated and non-animated emojis. This tool allows you to create a personalized server and add emojis to at and these emojis can be directly used by signing into Discord from this tool.
5.Giphy
Giphy is an interesting tool that offers a wide range of emoji stickers and GIFs to its users. The emojis that they provide can be further edited according to your wish before downloading. The emojis in this tool is sorted in a useful manner for the easiness of users. In order to access all the features this site offers, you will need to login first. The emojis can be downloaded according to your choice and can be used as Discord emojis after uploading it into Discord.
6.Getemoji
Getemoji is a simple common tool that can be used to download much less interesting Discord emojis. It is a tool that provides a lot of emojis for the basic expression of emotions. No social applications are linked to this tool. A simple copy-paste method is how these emojis can be used on social media platforms like Discord, Facebook, etc. There is a search bar to easily find the emojis you are interested in.
7.Tenor
Tenor is an online tool that offers a large number of GIF emojis to be used on social media platforms. This tool consists of all emoji categories that can be used to express whatever you feel in a funny manner. Tenor does not allow access to any social applications and the emojis can only be uploaded directly to your device. This tool allows the uploading of ten emojis at a time and is accessible to Windows, Mac, and Android users.
8.Animated images
Animated images is a tool that offers thousands of animated Gifs, animated images, and animations to their users. It has a large category of emojis to choose from and you will never run out of Discord emojis. The emojis from this tool can directly be downloaded and used as Discord animated emojis after uploading to the app or the URL can be copied. The one-click download option makes it easier to download the Discord emojis on this site.
For all the online tools that do not provide direct access to Discord, the emojis must be downloaded and uploaded to Discord separately to be able to use it.
Part 2: How to add/upload emojis to Discord
Discord is a social application that allows its users to create groups of people and communicate with them in an easy and interesting manner. These groups can be your family group, friends group, sports-related, business-related, or any other group.
But since communication is the purpose, emojis plays an important role. Discord emojis can be used to make any conversation interesting, more appealing, and funny. It helps to reveal what exactly a person has in his/her mind.
There are a lot of third-party tools and applications that provide Discord animated emojis. Let us find out how these emojis, after downloading, can be uploaded to Discord.
You will need to have a paid Discord Nitro account to be able to use animated emojis.
Step 1: Log into Discord and open the server you wish to upload the emojis to. Then click the arrow beside the server name.
Step 2: Tap on Server Settings.
Step 3: From the window that opens, tap on Emoji on the left and then on the Upload Emoji option on the right side.
Step 4: Select the emojis you wish to add from the device location.
Using Discord from a browser or desktop is necessary to be able to upload your emojis.
Bonus Tip-Add Emoji to Your Video with Wondershare Filmora
Wondershare Filmora is one of the best video editing applications that have all the features needed for editing a video, including the latest formats and functions. This application is preferred both by beginners and professionals alike due to its easy to use intensive, extensive features and options and high-quality video exporting options.
Let’s see how this video editing application can be used to add emojis to a video.
1. Download and install Wondershare Filmora on your device and open it.
2. Import the video file you wish to edit by tapping on File – Import Media – Import Media Files. After importing the file, drag and drop the file onto the Filmora timeline to start editing the video.
3. Sometimes an emoji can express what 100 words cant. So to add emoji to your video, tap on Elements on the top bar and then select the Emoji option
4. Select the emoji you wish to add. You can customize the emoji by adding texts, changing fonts, shapes, etc.
To get more emoji options than the default ones provided in Wondershare Filmora, you can go to Wondershare Filmstock and download the Animated Emoji pack. This pack offers a lot more interesting emojis and is available for FREE!
5. After customization of the emoji drag and drop the emoji to your timeline. Multiple emojis can be added to a single video in Filmora.
6. Once the editing is over, tap on the Export button to save the video on your device, or directly upload it to any social platform like YouTube or Vimeo. Many formats are available for you to choose from while exporting the video.
Conclusion
Emojis plays an integral part in today’s communication. Discord emojis help to make the chats with people we know more interesting and help us express emotions in a better way. A number of emoji websites have been listed in the article to help you to add animated emoji to Discord.
Emojis can also be added to videos to make them more interesting and appealing to the audience by using Wondershare Filmora. Good content always gathers the likes of the audience.
Shanoon Cox
Shanoon Cox is a writer and a lover of all things video.
Follow @Shanoon Cox
Advanced Role Management Techniques in Discord
How to Add Roles in Discord?

Richard Bennett
Mar 27, 2024• Proven solutions
Having a Discord server for you and your friends is a fun experience. And for gamers, Discord is a necessity. You can customize it with bots, connect real-time over voice channels, and even add rooms for chat forums.
Obviously, creating and managing a Discord server can get difficult. Especially when the server gets crammed with members, it is no longer a one-person show. You need help with monitoring and moderation. And let’s face it – you cannot watch your server round the clock.
So, let us learn the art of delegation on Discord! This guide will help you with – How to add roles in Discord and how to assign them to members. This includes creating roles, deleting them, and granting appropriate permissions.
- Part 1: Discord Server Permissions Introduction
- Part 2: How to Make and Add Roles in Discord on Computer
- Part 3: How to Manage Roles in Discord?
- Part 4: How to Delete Roles in Discord?
- Part 5: How to Add Roles on Discord Mobile?
- Part 6: Adding Roles to Discord FAQs
Part 1: Discord Server Permissions You Can Set Up
To give you a heads-up, there are around 29 permissions that you can adjust over a Discord server. More specifically, there are 7 voice permissions, 9 permissions related to texts, and about 13 permissions dealing with the server.
1. General server permission
Administrator – this is the highest permission that you can grant to a user. Think twice before giving this authority to anyone.
View Audit Log – with this permission, a user can read the server’s audits.
Manage Server – this permission enables a user to change the server’s name or shift it to another region.
Manage Roles – a user with this authority can make new roles or modify the roles without this permission.
Manage Channels – with this; a user can make, edit, or remove channels on a server.
Manage emojis – users with this authority can manage emotes.
Manage Webhooks – if you have this authority, you can add, modify, and remove webhooks.
Read Text Channels & See Voice Channels – a user with this permission can read text channels.
2. Membership permissions
Ban Members – a member with permission, can ban members from the server.
Create Instant Invite – users with this permission can invite people to the server.
Change Nickname – you can change your nickname anytime if this permission is enabled.
Manage Nicknames – if enabled, a user can change other’s nicknames.
Kick Members – a user with this authority can remove members from the server.
3. Text channel permissions
Send Messages – with this; users can send texts on chats.
Send TTS Messages – this enables users to send text-to-speech texts.
Manage Messages – with this; a user can remove or pin texts of other users.
Embed Links – enables users to embed hyperlinks in texts.
Attach Files – with this; users can attach files in the texts.
Read Message History – enables users to access earlier texts.
Mention Everyone – you can send push notifications on the channel if this permission is enabled.
Use External Emojis – if enabled, users can send emojis from other servers.
Add Reactions – with this; users can add new reactions to a text.
4. Voice channel permissions
Connect – enables users to connect themselves over the voice channel.
Speak – users can talk over the voice channel.
Mute Members – turn off other user’s speech.
Deafen Members – turn off hearing on the channel for a user.
Move Members – enables a user to shift members from one channel to a different channel.
Use Voice Activity – a member can talk without using Push-to-Talk, with this permission.
Priority Speaker – when this permission is turned on for a user, other’s
this permission allows the user to reduce the volume of other users when this user is speaking so that their words are louder on the channel.
5. Advanced permissions
Includes the ‘Administrator’ permission, which by default enables all the permissions to the assigned user.
Part 2: How to Make and Add Roles in Discord on Computer
The desktop app and Browser resemble the mobile apple a lot. The process of assigning roles and configuring members is more or less the same across devices. First, you need to create roles and define their authority before assigning these roles to some members.
How to create roles in Discord?
Before you can assign roles, you need a server. Once you have created your Discord server, start crafting the structure.
- Open your server and right-click on it.
- From the menu that appears, tap server settings.
- Name the role suitably. It should be descriptive of the authority.
- Tap on the plus sign that appears on the top right of the page.
- Here, you can change the title off the roll and even choose the color.
- Now comes the time to grant some permissions. These are basically the authority that you gave to every profile.
- When you are done, save the changes.
How to Assign Roles to Members in Discord?
To be able to assign roles, you should first create them
- Once again, hit that right button on your server and go to server settings.
- From the menu that appears to the left, ‘choose members’ under user management.
- Here, you will see the list of all the members on your server, tap the Plus sign that is right beside the username.
- From the drop-down menu that appears, select a role you want to assign to that member.
- You will notice that the color changes as per your settings. And this is how you assign roles to a server.
Part 3: How to Manage Roles in Discord?
After you learn how to make roles in Discord, you might want to manage them.
If you have got the hang of creating roles, then managing them is no different. Whenever the server gets crowded, you can create more roles or modify the existing ones. A smaller server can run smoothly with just an admin and an ‘everyone’ role.
The quickest and easiest way to manage your bloating server is to let all members be ‘everyone’ and adjust permissions accordingly. So, whenever members enter your server, they will automatically be assigned the common role.
Further, you can easily figure out what roles you have assigned to whom. Due to these colors, the other members can identify moderators, admins, or other roles.
Part 4: How to Delete Roles in Discord?
Honestly, removing Discord roles easier than setting them up. There are hardly a few steps that you need to follow for role removal.
- place the cursor on the server, and hit the right-click.
- From the list, choose server settings. Then click on roles.
- From the roles window, tap on the role that you wish to delete.
- Towards the bottom, you will see the option to delete the role.
- Press ok to confirm.
Part 5: How to Add Roles on Discord Mobile?
Like we mentioned earlier, the user interface of Discord is similar across devices. So, there is little difference between the process of creating and managing roles. But it can be baffling for beginners, so here’s a brief!
1. How to create roles in Discord mobile app?
Before you can assign roles, you have to create them.
- Open your server.
- Tap on the arrow beside the server’s title. A drop-down menu will appear. Select ‘server settings’ from that.
- Tap on ‘Roles.’ A common role, ‘everyone’ is assigned to all the members who have basic permissions enabled for everyone.
- Tap the plus sign and add a role.
- Give the role a color and describe it in a few words.
- Go through the permissions and enable the ones that fit the role.
- Save the changes.
You can repeat this multiple times to create more roles.
2. How to Assign Roles in Discord mobile app?
- Head over to settings and select ‘Members.’
- Select the members you want to assign roles to.
- Tick the boxes beside each member’s name for the roles you are assigning them.
Save the changes, and you are good to go! You can assign multiple roles to a member.
Part 6: FAQs about Discord Server Roles
Just some obvious things you might wonder about.
- How to make someone admin on Discord?
Making someone admin is the same as assigning other roles. Open your server and go to server settings.
- From there, select ‘roles’ from the left pane.
- Create a new role.
- Name the role ‘admin’ or an equivalent title.
- Adjust the setting related to sorting out role members with other members.
- Go to general permissions and tick the ‘Administrator’ option.
- Hit the ‘save changes’ button at the bottom.
- Now it’s time to assign the role to someone. Right-click on the user that you want to assign the role.
- Choose ‘roles’ from the drop-down list and select ‘Admin.’
And now your server has an admin!
- How can I assign roles to new users in Discord automatically?
By default, every member gets the role of ‘everyone’ on the server. However, you can customize this and add the MEE6 bot for automatic role allocation.
- Why can’t I manage the server even I am an admin on the server?
This is likely to happen if the server owner gave you the role of admin, but the permissions are disabled. You can ask the owner to enable the permissions for your user ID.
Richard Bennett
Richard Bennett is a writer and a lover of all things video.
Follow @Richard Bennett
Richard Bennett
Mar 27, 2024• Proven solutions
Having a Discord server for you and your friends is a fun experience. And for gamers, Discord is a necessity. You can customize it with bots, connect real-time over voice channels, and even add rooms for chat forums.
Obviously, creating and managing a Discord server can get difficult. Especially when the server gets crammed with members, it is no longer a one-person show. You need help with monitoring and moderation. And let’s face it – you cannot watch your server round the clock.
So, let us learn the art of delegation on Discord! This guide will help you with – How to add roles in Discord and how to assign them to members. This includes creating roles, deleting them, and granting appropriate permissions.
- Part 1: Discord Server Permissions Introduction
- Part 2: How to Make and Add Roles in Discord on Computer
- Part 3: How to Manage Roles in Discord?
- Part 4: How to Delete Roles in Discord?
- Part 5: How to Add Roles on Discord Mobile?
- Part 6: Adding Roles to Discord FAQs
Part 1: Discord Server Permissions You Can Set Up
To give you a heads-up, there are around 29 permissions that you can adjust over a Discord server. More specifically, there are 7 voice permissions, 9 permissions related to texts, and about 13 permissions dealing with the server.
1. General server permission
Administrator – this is the highest permission that you can grant to a user. Think twice before giving this authority to anyone.
View Audit Log – with this permission, a user can read the server’s audits.
Manage Server – this permission enables a user to change the server’s name or shift it to another region.
Manage Roles – a user with this authority can make new roles or modify the roles without this permission.
Manage Channels – with this; a user can make, edit, or remove channels on a server.
Manage emojis – users with this authority can manage emotes.
Manage Webhooks – if you have this authority, you can add, modify, and remove webhooks.
Read Text Channels & See Voice Channels – a user with this permission can read text channels.
2. Membership permissions
Ban Members – a member with permission, can ban members from the server.
Create Instant Invite – users with this permission can invite people to the server.
Change Nickname – you can change your nickname anytime if this permission is enabled.
Manage Nicknames – if enabled, a user can change other’s nicknames.
Kick Members – a user with this authority can remove members from the server.
3. Text channel permissions
Send Messages – with this; users can send texts on chats.
Send TTS Messages – this enables users to send text-to-speech texts.
Manage Messages – with this; a user can remove or pin texts of other users.
Embed Links – enables users to embed hyperlinks in texts.
Attach Files – with this; users can attach files in the texts.
Read Message History – enables users to access earlier texts.
Mention Everyone – you can send push notifications on the channel if this permission is enabled.
Use External Emojis – if enabled, users can send emojis from other servers.
Add Reactions – with this; users can add new reactions to a text.
4. Voice channel permissions
Connect – enables users to connect themselves over the voice channel.
Speak – users can talk over the voice channel.
Mute Members – turn off other user’s speech.
Deafen Members – turn off hearing on the channel for a user.
Move Members – enables a user to shift members from one channel to a different channel.
Use Voice Activity – a member can talk without using Push-to-Talk, with this permission.
Priority Speaker – when this permission is turned on for a user, other’s
this permission allows the user to reduce the volume of other users when this user is speaking so that their words are louder on the channel.
5. Advanced permissions
Includes the ‘Administrator’ permission, which by default enables all the permissions to the assigned user.
Part 2: How to Make and Add Roles in Discord on Computer
The desktop app and Browser resemble the mobile apple a lot. The process of assigning roles and configuring members is more or less the same across devices. First, you need to create roles and define their authority before assigning these roles to some members.
How to create roles in Discord?
Before you can assign roles, you need a server. Once you have created your Discord server, start crafting the structure.
- Open your server and right-click on it.
- From the menu that appears, tap server settings.
- Name the role suitably. It should be descriptive of the authority.
- Tap on the plus sign that appears on the top right of the page.
- Here, you can change the title off the roll and even choose the color.
- Now comes the time to grant some permissions. These are basically the authority that you gave to every profile.
- When you are done, save the changes.
How to Assign Roles to Members in Discord?
To be able to assign roles, you should first create them
- Once again, hit that right button on your server and go to server settings.
- From the menu that appears to the left, ‘choose members’ under user management.
- Here, you will see the list of all the members on your server, tap the Plus sign that is right beside the username.
- From the drop-down menu that appears, select a role you want to assign to that member.
- You will notice that the color changes as per your settings. And this is how you assign roles to a server.
Part 3: How to Manage Roles in Discord?
After you learn how to make roles in Discord, you might want to manage them.
If you have got the hang of creating roles, then managing them is no different. Whenever the server gets crowded, you can create more roles or modify the existing ones. A smaller server can run smoothly with just an admin and an ‘everyone’ role.
The quickest and easiest way to manage your bloating server is to let all members be ‘everyone’ and adjust permissions accordingly. So, whenever members enter your server, they will automatically be assigned the common role.
Further, you can easily figure out what roles you have assigned to whom. Due to these colors, the other members can identify moderators, admins, or other roles.
Part 4: How to Delete Roles in Discord?
Honestly, removing Discord roles easier than setting them up. There are hardly a few steps that you need to follow for role removal.
- place the cursor on the server, and hit the right-click.
- From the list, choose server settings. Then click on roles.
- From the roles window, tap on the role that you wish to delete.
- Towards the bottom, you will see the option to delete the role.
- Press ok to confirm.
Part 5: How to Add Roles on Discord Mobile?
Like we mentioned earlier, the user interface of Discord is similar across devices. So, there is little difference between the process of creating and managing roles. But it can be baffling for beginners, so here’s a brief!
1. How to create roles in Discord mobile app?
Before you can assign roles, you have to create them.
- Open your server.
- Tap on the arrow beside the server’s title. A drop-down menu will appear. Select ‘server settings’ from that.
- Tap on ‘Roles.’ A common role, ‘everyone’ is assigned to all the members who have basic permissions enabled for everyone.
- Tap the plus sign and add a role.
- Give the role a color and describe it in a few words.
- Go through the permissions and enable the ones that fit the role.
- Save the changes.
You can repeat this multiple times to create more roles.
2. How to Assign Roles in Discord mobile app?
- Head over to settings and select ‘Members.’
- Select the members you want to assign roles to.
- Tick the boxes beside each member’s name for the roles you are assigning them.
Save the changes, and you are good to go! You can assign multiple roles to a member.
Part 6: FAQs about Discord Server Roles
Just some obvious things you might wonder about.
- How to make someone admin on Discord?
Making someone admin is the same as assigning other roles. Open your server and go to server settings.
- From there, select ‘roles’ from the left pane.
- Create a new role.
- Name the role ‘admin’ or an equivalent title.
- Adjust the setting related to sorting out role members with other members.
- Go to general permissions and tick the ‘Administrator’ option.
- Hit the ‘save changes’ button at the bottom.
- Now it’s time to assign the role to someone. Right-click on the user that you want to assign the role.
- Choose ‘roles’ from the drop-down list and select ‘Admin.’
And now your server has an admin!
- How can I assign roles to new users in Discord automatically?
By default, every member gets the role of ‘everyone’ on the server. However, you can customize this and add the MEE6 bot for automatic role allocation.
- Why can’t I manage the server even I am an admin on the server?
This is likely to happen if the server owner gave you the role of admin, but the permissions are disabled. You can ask the owner to enable the permissions for your user ID.
Richard Bennett
Richard Bennett is a writer and a lover of all things video.
Follow @Richard Bennett
Also read:
- [New] Boosting Profile Visibility on Discord Using Personalized Emojis
- 2024 Approved Discord GIFs How to Put GIFs on Discord - An Ultimate Guide
- Navigating the World of Discord Roles for 2024
- [New] Colorful Canvas The Ultimate 10 BestDiscord Theme Gallery
- Unleash Your Inner Conversationalist with Discord Responses for 2024
- [Updated] 2024 Approved From Basic to Bold Customizing Your Discord Image
- 2024 Approved A Step-by-Step Guide to Designing Memorable Discord Avatars
- 2024 Approved Mastering the Art of Discord Nitro The Premium Tier's Overview
- [Updated] Streamlining Your Discord Experience Bulk Deletion Made Simple
- [Updated] Premiered 5 Stunning Social Media Logos in Action for 2024
- Merging Music and Messages Spotify/Discord Connection
- [New] In 2024, Unveiling All About Discord Stickers
- [New] In 2024, How to Modify Your Discord Display at a Glance
- [Updated] Discord Broadcast Mastery The Ultimate Guide for Novices and Pros
- [Updated] In 2024, The Complete Guide for Adding Interactive Content Incorporating GIFs Into Your Discord Chats
- In 2024, Discord's Best Places to Connect with Partners
- 2024 Approved Removing Discord Servers Step-by-Step
- [New] 2024 Approved How to Delete Messages On Discord In Bulk
- [New] 2024 Approved A Guide to Identifying the Right Discord Servers
- [New] In 2024, Best Multiplayer Game Chat Options
- [Updated] 2024 Approved Examining Workplace Messaging Platforms Is Team Efficiency Favored by Slack over Discord?
- [Updated] In 2024, Gaming at Its Finest How to Acquire DiscoNitro on Discord
- [Updated] Tailoring Your Discord Avatar with Unique Emojis (PC/Mobile) for 2024
- Mastering Audio Editing Removing Sound From Films with iMovie
- [New] Advanced Techniques to Record and Save Stories for 2024
- How and Where to Find a Shiny Stone Pokémon For OnePlus 11R? | Dr.fone
- In 2024, How To Stream Anything From Vivo Y78+ to Apple TV | Dr.fone
- Best Android Data Recovery - Undelete Lost Music from Motorola G54 5G
- How to Transfer Music from Xiaomi Redmi Note 12R to iPod | Dr.fone
- Full Guide on Mirroring Your Honor 80 Pro Straight Screen Edition to Your PC/Mac | Dr.fone
- In 2024, How to Reset Apple ID and Apple Password On Apple iPhone 13 Pro
- [New] A Comparative Analysis of Mac's Best Snipping Tools
- Updated In 2024, Guide Learning the Right Ways To Start Facebook Live Shopping
- [Updated] Unveiling Advanced Methods to Harness ScreenCapture Tools
- How to Stop My Spouse from Spying on My OnePlus 12R | Dr.fone
- 2024 Approved Some Must-Know Useful Lego Animation Ideas
- Facebook Insights How to Use It for Beginners Easily
- [Updated] 2024 Approved Picturing Perfect Profile Visions
- 2024 Approved Transform Your GoPro Footage Free Video Editing Software and Tutorials
- How To Transfer Data From iPhone 14 To Others devices? | Dr.fone
- [New] Easier Than Ever 2023'S Fire-Browser Addons for Capturing Your FB Videos
- Title: "[Updated] Free Animated Imagery Galore Locate Your Next Set at These Portals for 2024"
- Author: Timothy
- Created at : 2024-05-23 22:48:11
- Updated at : 2024-05-24 22:48:11
- Link: https://discord-videos.techidaily.com/updated-free-animated-imagery-galore-locate-your-next-set-at-these-portals-for-2024/
- License: This work is licensed under CC BY-NC-SA 4.0.
